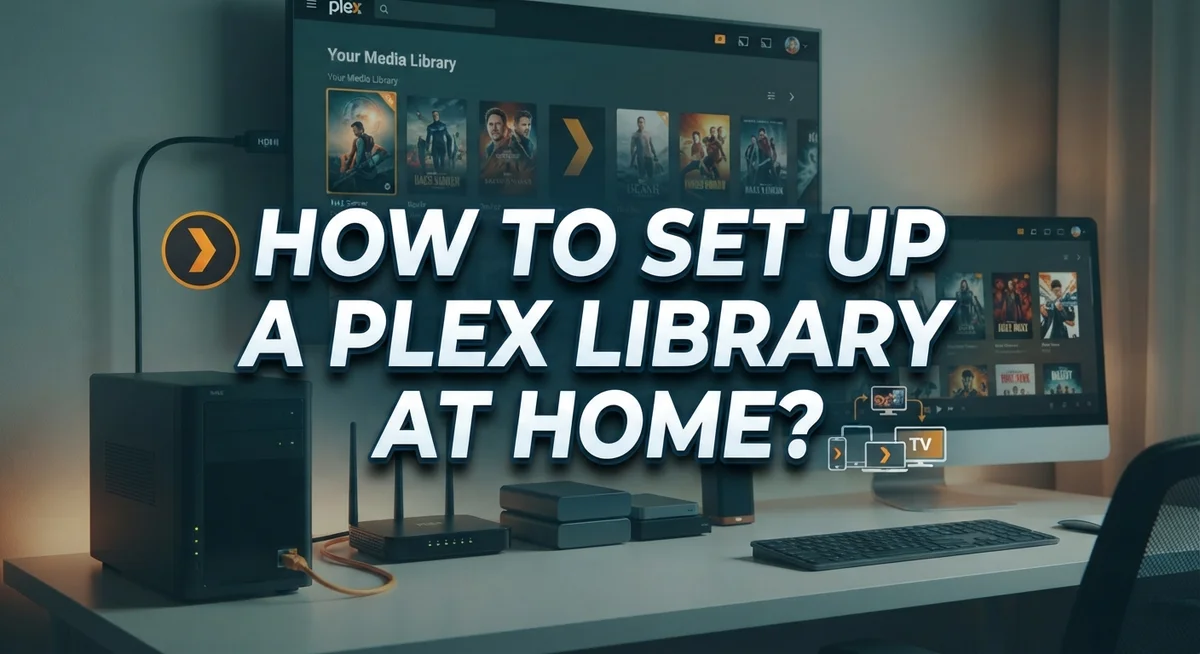
How to Set Up a Plex Library at Home?
Do you want your own private streaming service at home? Plex makes this possible.
It turns your movies, shows, and music into a personal streaming library. You get the same smooth experience as popular streaming apps, but with your own files.
Setting up a Plex library sounds tricky at first. Many people worry about folders, server settings, and confusing menus.
The truth is simpler than you think. With the right steps, you can build a clean and organized library in less time than you expect.
This guide walks you through the entire process. You will learn how to install Plex Media Server on your device. We will also cover the Setup Wizard and how to create your account.
You will discover how to add libraries for movies and TV shows. We will explain smart file naming so Plex can find your media easily.
By the end, you will know how to avoid common setup mistakes. You will also learn simple tips to keep your library fast and well organized.
Let’s get your home media server ready to stream.
In a Nutshell
Here’s a quick recap of what you need to know to get your Plex library up and running.
- Install Plex Media Server on the device that stores your media files. This is the first and most important step.
- Run the Setup Wizard to create your account and connect your server. It only takes a few minutes.
- Open the Plex Web App and go to Settings. From there, you can add a new library.
- Pick the folders that hold your movies or shows. Plex scans them and adds content to your Home Screen automatically.
- Keep TV shows and movies in separate libraries. This keeps your collection tidy and easy to browse.
- Use consistent file naming for all your media. Plex relies on clean file names to fetch accurate posters and details.
Once your folders are added, give your library a name and choose a language. Your content will show up right away.
A little planning now saves you headaches later. Good organization means smoother streaming and less time fixing mismatched titles down the road.
What Is a Plex Media Server and How Does It Work?
Plex Media Server is software that transforms your home computer into a personal streaming hub. It stores your media files in one central location and streams them to any device you own. Think of it as creating your own Netflix, but with your personal collection.
The server works by organizing your media into libraries. Each library groups similar content together. You might have one library for movies, another for TV shows, and a third for music. The server catalogs everything and makes it searchable and easy to browse.
How the streaming happens is straightforward. You install the server software on a computer or device that stays connected to your network. This machine becomes the “brain” of your system. Your other devices (phones, tablets, smart TVs) connect to this server wirelessly or through your home network.
The server automatically recognizes your media files when you point it to specific folders. It reads the file names and gathers information like cover art, descriptions, and cast details. This information displays beautifully in the Plex app on your devices.
Security and privacy matter here. Your media stays on your own hardware. Nothing uploads to the cloud unless you choose to. Only people you invite can access your libraries. You control exactly who watches what.
Performance depends on your setup. A faster computer means smoother streaming. A strong home network prevents buffering. The server handles multiple simultaneous streams, so several family members can watch different content at once.
Understanding these basics helps you set up your system correctly. You avoid common problems by knowing what the server does and how it organizes your content. This foundation makes the actual installation process much simpler.
Installing Plex Media Server on Your Device
Plex Media Server is software you install on a device that stores your media files. This device becomes your home server. The server organizes your movies, shows, and music so you can stream them anywhere.
Installing the software is your first step. Visit the official Plex website and download the Media Server version for your operating system. Windows, Mac, and Linux all have versions available. Choose the one that matches your device. The file size is typically small, so download time is quick.
Run the installer once the download finishes. Follow the on screen prompts to complete installation. The software guides you through each step automatically. You don’t need advanced technical skills for this part.
Next, launch Plex Media Server after installation completes. The Setup Wizard appears and walks you through account creation. You’ll sign in with an email address or create a new account. This account lets you access your library from any device later.
During setup, the wizard asks where your media files are stored. Point it to the folders containing your movies and shows. Plex scans these folders automatically and recognizes your media files. This scanning process takes longer if you have many files.
The wizard also lets you name your server and choose basic settings. Give your server a name you’ll recognize easily. Select your preferred language and timezone.
After the wizard finishes, your server is ready. Plex runs in the background on your device. You can now access the Plex Web App to add libraries and organize your content. Your server will continue working as long as your device stays powered on and connected to the internet.
Step-by-Step: Creating Your First Plex Library
Now that your server is installed and running, you’re ready to create your first library. This is where your media gets organized so you can find and watch it easily.
Start by opening the Plex Web App in your browser. Log in with your account credentials. Click on Settings in the top right corner, then select Manage Libraries. You’ll see an option to Add Library.
When you click Add Library, a window appears asking what type of content you want to add. Choose between Movies, TV Shows, Music, or Photos. For your first library, pick one type. Movies and TV shows work best as separate libraries because they organize differently.
Next, you’ll select the folders on your device that contain your media files. Click Browse to find your folders. Point Plex toward the directory where you store your content. You can add multiple folders to one library if your files are spread across different locations.
After selecting your folders, give your library a meaningful name. Something like “My Movies” or “TV Collection” works fine. Choose your preferred language for metadata and display.
Click Create Library to finish. Plex scans your folders and begins matching your files to its database. This process takes time depending on how many files you have. You’ll see a progress bar showing the scan status.
Once the scan completes, your content appears on your Home Screen. You can now browse, search, and play your media from any device on your network. Your first library is live and ready to use.
Organizing Media Folders and File Naming Best Practices
Organizing your media folders properly is essential for a smooth Plex experience. When you set up your library, the folder structure you create directly affects how quickly Plex finds and identifies your files.
Start by creating separate top level folders for different content types. Keep all movies in one main folder and all TV shows in another. This separation helps Plex understand what you’re storing and prevents confusion during scanning.
For movies, use a simple naming format. Include the movie title and release year in the folder name. For example, create a folder called “Movie Title 2023” and place the video file inside. Plex uses this information to match your files with its database and pull in correct artwork and metadata.
TV shows require a bit more structure. Create a folder for each show using the series name. Inside each show folder, create subfolders for individual seasons. Label season folders as “Season 1,” “Season 2,” and so on. Then place your episode files in the appropriate season folders.
For episode files themselves, use consistent naming. Format episodes as “S01E01” for season one, episode one. Include the episode title after the number. This format helps Plex recognize episodes correctly and organize them in the right order.
Avoid using special characters or unusual spacing in your file names. Stick to letters, numbers, and basic punctuation. Remove extra periods or underscores that might confuse the matching system.
Create a “Miscellaneous” or “Other” folder for content that doesn’t fit standard categories. This keeps your library clean and organized. Once your folders are set up properly, Plex scanning becomes faster and more accurate. Your library displays correctly on all your devices.
Customizing Library Settings and Metadata Preferences
After your library is created, you can fine tune how Plex displays and manages your content. Customizing these settings ensures your library works exactly how you want it to.
Start by accessing your library settings through the Plex Web App. Click on the three dots next to your library name and select “Edit Library.” Here you can change the library name, adjust the language setting, and modify how content appears.
Metadata preferences control what information Plex shows about your media. You can enable or disable features like rating systems, descriptions, and artwork displays. Some users prefer minimal information, while others want complete details about every item.
Configure poster and background art settings to match your preferences. Plex automatically pulls artwork from its database, but you can customize which images appear in your library view. This helps create a consistent visual experience.
Set up automatic refresh intervals so Plex scans for new files regularly. You can choose how often the system checks your media folders for additions or changes. More frequent scans use more server resources, so balance this based on your needs.
Enable or disable advanced features like ratings, collections, and smart playlists. These options help you organize content further and create custom viewing experiences.
Adjust sharing settings if you want family members or friends to access your library. You can control what content each person sees and whether they can download files.
Finally, configure playback quality settings for different devices. This ensures smooth streaming on older devices while allowing high quality playback on newer hardware. Your customized library now reflects your exact preferences and viewing habits.
Common Mistakes to Avoid When Setting Up Libraries
When setting up your Plex library, avoiding common mistakes saves you time and frustration. Poor folder organization is the biggest problem people face. If your media files sit in random folders with inconsistent names, Plex struggles to match them correctly. Create clear, separate directories for movies and TV shows before you even start.
Low quality media files cause another frequent issue. Plex works best with standard video formats and reasonable file sizes. If your files are corrupted or use outdated codecs, playback problems happen. Test a few files before importing your entire collection.
Many users skip proper server configuration. Your server needs enough processing power and storage space to handle your library size. If you ignore these requirements, streaming becomes slow and unreliable. Check your device’s specs before loading thousands of files.
Inconsistent file naming creates metadata matching problems. Plex uses file names to identify your content in its database. When names are messy or abbreviated, the system can’t find the right information. Use standard naming patterns like “Movie Title (Year)” for films and “Show Name S01E01” for episodes.
Don’t mix different content types in one library. Movies and TV shows need separate libraries to function properly. Mixing them confuses Plex’s organizational system and makes browsing difficult for viewers.
Failing to organize before setup leads to massive headaches later. Renaming hundreds of files afterward takes hours. Spend time organizing your folders and naming files correctly upfront. This simple step prevents almost every common library problem and keeps your Plex experience smooth and enjoyable.
Troubleshooting Common Plex Library Issues
When your Plex library isn’t working as expected, a few quick checks solve most problems. Start by verifying your server is running on the machine storing your media files. Open the Plex Web App and check if your server appears online in the settings menu.
If content isn’t showing up in your library, check your folder paths first. Plex needs correct access to your media folders. Verify the folders you added actually contain media files. Sometimes Plex fails to scan folders due to permission issues on your computer.
Missing metadata happens when files don’t match Plex’s database. This usually means your file naming doesn’t follow standard conventions. Rename files to include the title, year, and season/episode numbers as needed. Plex scans again automatically or you can force a manual refresh.
If playback fails, your media files might use unsupported formats. Check if your device supports the video or audio codec in your files. Some older or unusual formats require conversion before Plex can play them.
Library scanning takes too long when you have thousands of files. This is normal for large collections. Let the initial scan complete without interrupting your server.
Duplicate entries appear when Plex finds multiple versions of the same file. Delete the unwanted copies from your storage device and refresh the library.
Connection problems between devices usually mean network issues. Ensure all devices connect to the same network or configure remote access settings properly.
Restart your Plex server if you experience unexpected glitches. This simple step resolves many temporary issues. Most problems come from improper file organization or missing server configuration rather than software bugs.
Optimizing Server Performance for Smooth Streaming
Your Plex server’s performance directly affects your streaming experience. A well optimized server means smooth playback without buffering or interruptions. Let’s explore practical ways to improve your setup.
First, check your server hardware. Your computer needs enough processing power and RAM to handle multiple streams. If you’re streaming 4K content or supporting several users simultaneously, you’ll need stronger hardware than basic streaming. Close unnecessary programs running in the background. They consume resources your Plex server needs.
Network speed matters significantly. Your internet upload speed determines how fast content reaches remote users. Run a speed test to verify your connection. If speeds are low, consider wired connections instead of WiFi. Ethernet cables provide more stable, faster data transfer than wireless networks.
Configure your server settings for efficiency. Adjust transcoding quality based on your needs. Transcoding converts media files into formats devices can play. Higher quality transcoding uses more CPU power. Lower quality reduces strain on your server but may affect picture quality.
Enable hardware acceleration if your server supports it. This feature uses your graphics card instead of your processor, reducing CPU load significantly. Check your server settings to see if this option is available.
Organize your media libraries thoughtfully. Separate large collections into multiple smaller libraries. This reduces scanning time and improves navigation speed.
Monitor your server’s performance regularly. Most Plex servers display CPU usage, memory consumption, and active streams. Watch these metrics to identify problems early. If performance drops, restart your server to clear temporary files and reset connections.
Implement these changes gradually. Test each adjustment to see which improvements benefit your specific setup most.
Final Thoughts
Setting up a Plex library at home gives you full control over your media collection. You store your movies and shows the way you want. You watch them on any device you choose.
The setup process itself stays simple. You install Plex Media Server, run the Setup Wizard, and add your libraries. Within minutes, your content shows up on your Home Screen.
Good habits make a big difference over time. Keep your files named consistently. Separate your movies from your TV shows. These small steps prevent bigger problems later.
Server performance matters just as much as organization. A well configured server streams your content smoothly. It handles multiple devices without lag or buffering issues.
Think of your Plex library as a living project. You will add new movies and shows regularly. You might also adjust settings as your needs change.
Don’t worry about getting everything perfect immediately. Start with the basics and build from there. You can always fine tune settings once your library is running.
Remember that troubleshooting is part of the process too. Every Plex user faces small hiccups occasionally. Most issues have quick and easy fixes.
Your home media server rewards patience and attention. The time you invest in proper setup pays off with smooth streaming later. You get a personal entertainment hub built exactly for your taste.
Plex puts you in charge of your own content. No more searching through multiple apps or services. Everything lives in one organized place you control completely.
Take it step by step, and you will build a reliable home media library. Soon enough, you will stream your favorite content without any stress or confusion at all.
Frequently Asked Questions
What’s the best way to organize my media files before adding them to Plex?
Create separate folders for different content types. Keep movies in one folder and TV shows in another. Inside your TV shows folder, make a subfolder for each series. Name your files consistently so Plex can match them to the correct metadata.
For example, use formats like “Movie Title (Year)” for films and “Show Name Season 01 Episode 01” for episodes. Avoid special characters and keep names simple. This organization saves you time during setup and prevents confusion later.
Do I need a powerful computer to run Plex Media Server?
Not necessarily. Plex runs on various devices with different power levels. Your server needs enough storage for your media collection and decent processing power for streaming to multiple devices at once.
If you’re streaming to just one or two people simultaneously, a modest computer works fine. For larger households or many simultaneous streams, consider a more powerful machine. Check Plex’s system requirements for your specific operating system before installation.
Can I add more libraries after my initial setup?
Yes, absolutely. You can add new libraries whenever you want. Go to Settings, select Manage Libraries, and click Add Library. Choose your media folder and name the new library.
This flexibility lets you expand your collection gradually. You might start with movies, then add TV shows later, or create separate libraries for different family members.
What happens if my media files are in unsupported formats?
Plex will still add them to your library, but playback might fail. When you try to watch, Plex attempts to convert the file on the fly. This requires extra processing power and can cause buffering or quality loss.
For smooth streaming, use common formats like MP4 for video and AAC for audio. If you encounter playback problems, check your file formats first.

Dillip is the founder and editor of ImageScaleLab.com, a passionate tech enthusiast who loves breaking down complex gadgets and accessories into simple, honest reviews and buying guides. With years of hands-on experience exploring the latest in tech, he is dedicated to helping readers make smarter, more confident purchasing decisions.