
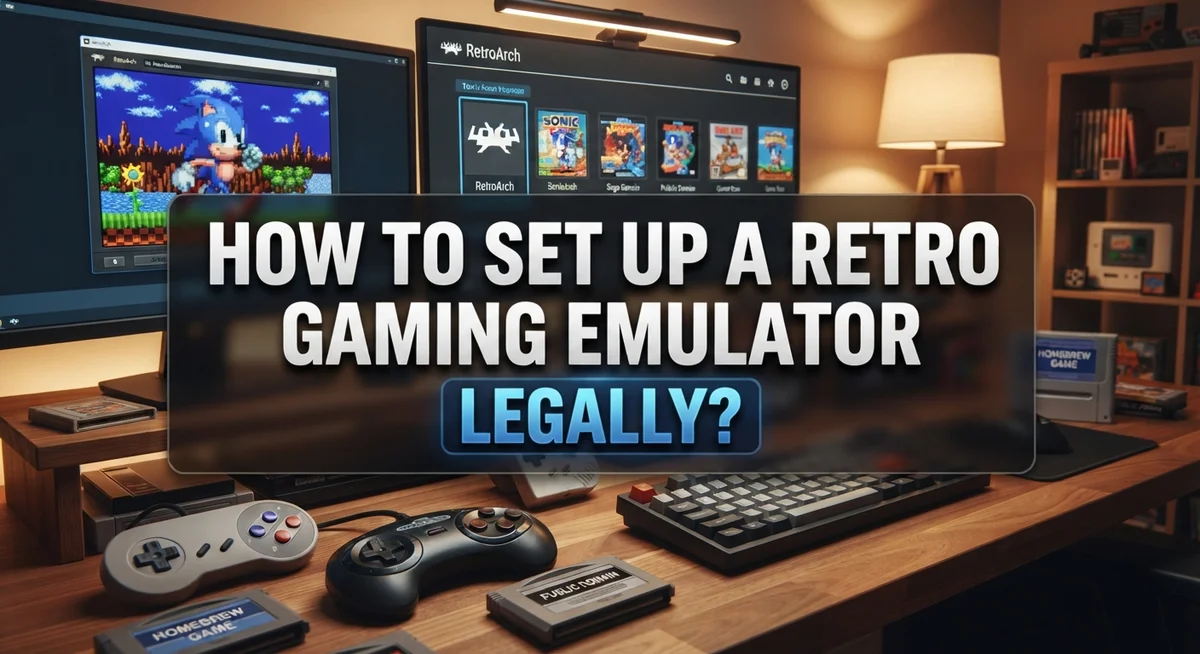
How to Set Up a Retro Gaming Emulator Legally?
Do you miss playing your old favorite games? Retro gaming brings back great memories. But many people wonder how to do it the right way.
Setting up an emulator sounds tricky at first. You might worry about legal issues too. The good news is that legal emulation is simple once you know the steps.
This guide walks you through the entire process. You will learn how to gather your physical games. We also cover how ROM dumping works.
Owning your games matters here. You must own the physical cartridge or disc first. This keeps your setup completely legal and safe.
We will also help you pick the right emulator software. Your PC specs matter for smooth gameplay. We share tips on checking compatibility before you start.
Want to play on your phone instead? Mobile emulation works great on both iOS and Android. We touch on that too.
By the end of this article, you will understand every step clearly. No confusing tech talk. Just simple, practical advice for building your own retro gaming setup the right way.
In a Nutshell
Legal retro gaming is simple once you know the steps. Here is the quick version.
-
Own the game first. You must have the original cartridge or disc before making a digital copy.
-
Dump your own ROMs. Use a ROM reader to pull game files directly from your owned media. This keeps everything legal.
-
Pick the right emulator. Choose software that matches your game console and works well with your device.
-
Check your hardware. Your PC or phone needs enough power to run games smoothly without lag.
-
Load and play. Once your ROMs and emulator are ready, load the files and start playing your classic games.
-
Avoid downloading ROMs online. This step skips the legal process and can cause copyright problems.
Setting things up correctly protects you legally and gives better performance. Take time to match your emulator with your system specs. This small check saves frustration later. Whether you play on a computer, phone, or TV screen, the same basic rules apply every time.
Understanding Emulation and Copyright Law
Emulation means running old video game software on modern devices. An emulator is software that copies how original gaming hardware worked. This lets you play classic games on your computer or phone today.
Copyright law protects game creators. When you buy a physical cartridge or disc, you own that copy. You do not own the game code itself. The publisher still holds the copyright. This distinction matters for legal emulation.
ROM dumping is the legal process. ROM stands for Read Only Memory. It contains the game’s code and data. You extract this information from your own cartridge or disc using specialized hardware. This creates a digital file called a ROM file. Downloading ROMs from websites without owning originals breaks copyright law.
Why ownership matters legally. Copyright holders allow personal backups of media you own. You can legally dump games from your own collection. You cannot legally share these files or download others’ dumps. Each person must create their own copies from their own media.
Emulators themselves are legal. The software that runs ROMs is not illegal. Emulator developers create these programs openly. The legal question centers on your ROM files. If you dumped them from games you own, you are protected. If you downloaded them, you likely violated copyright law.
This foundation is crucial. Understanding these basics prevents legal problems. You stay within the law by owning physical media first. You create your own digital copies second. You use emulator software third. This three step approach keeps your retro gaming experience completely legal and worry free.
What You Need: Games, Hardware, and Tools
Getting started with legal retro gaming requires three main categories of items. Let’s break down what you actually need.
Physical game media forms your foundation. You must own original cartridges, discs, or cassettes for the games you want to play. These are the legal basis for everything that follows. Check local thrift stores, online marketplaces, and specialty shops for used copies. Condition varies, but functionality matters most.
ROM dumping hardware converts your physical games into digital files. A cartridge reader connects to your computer and extracts game data from your owned media. Different readers work with specific console types. NES cartridges need different equipment than Game Boy games. Research which reader matches your console before purchasing.
Emulator software is the program that runs your dumped games on modern devices. Each emulator targets specific consoles. Some handle multiple systems, while others specialize in one. Your choice depends on which games you own and what device you’re using.
Your computer or device needs adequate specifications. Older games run on modest hardware, but newer emulators demand better performance. Check the emulator’s system requirements against your machine’s specs. Mobile devices like phones and tablets also work for portable play.
Optional display equipment enhances your experience. Modern televisions support retro gaming through various connection methods. Some people use CRT monitors for authentic visuals. Others prefer modern displays with scaling options.
Start simple. Gather your physical games first. Then research the specific ROM dumping hardware your console needs. Finally, download compatible emulator software. This practical approach keeps everything legal and straightforward.
How to Legally Dump ROMs From Your Own Games
The process of dumping ROMs from your own games is straightforward once you have the right equipment. Start by gathering all the physical cartridges or discs you own and want to convert. This ownership is essential for staying within legal boundaries.
Next, you’ll need a ROM reader device. These readers connect to your computer and extract game data directly from your original media. Different cartridge types require different readers, so research which one matches your game collection before purchasing.
Connect your ROM reader to your computer using the provided USB cable or connection method. Install any necessary software that came with the reader. Most readers include simple software that guides you through the dumping process step by step.
Insert your first game cartridge or disc into the reader. The software will detect it and show you options to create a ROM file. Select the option to dump or extract the game data. The process typically takes just a few minutes per game. Your computer will save the ROM file to a folder you choose.
Repeat this process for each game in your collection. Store all your dumped ROM files in one organized folder on your computer. This makes it easy to find games later when you’re using your emulator.
Keep your ROM files backed up in a safe location. Consider using an external hard drive or cloud storage to protect your collection. This ensures you won’t lose your dumped games if your computer experiences problems.
Once you’ve successfully dumped all your ROMs, you’re ready to move forward with selecting and configuring your emulator software for gameplay.
Choosing the Right Emulator for Your Console
Choosing the right emulator depends on which console you want to play. Each system requires specific emulator software designed for that hardware. Research which emulators support your console before committing to the setup process.
Compatibility matters most. Your dumped ROM files only work with emulators built for that specific console generation. A Nintendo Entertainment System emulator won’t run Sega Genesis games. You must match the emulator to your console type.
Consider your computer’s specifications before selecting an emulator. Some emulators demand more processing power than others. Older systems run lighter emulators easily. Newer consoles like PlayStation or Dreamcast need stronger hardware to emulate properly.
Test the emulator on your device first. Many emulators offer free trial versions or demo modes. This helps you confirm smooth performance before investing time in ROM dumping. Poor performance ruins the retro gaming experience.
Portable options exist for mobile devices. You can emulate retro games on smartphones and tablets through compatible emulator applications. Mobile emulation offers convenience for gaming on the go. Performance varies depending on your device’s processing power.
Display compatibility deserves attention too. Some emulators scale graphics for modern monitors and 4K televisions. Others require manual configuration for proper display output. Check whether your emulator handles your preferred screen resolution.
Read user reviews and community feedback about specific emulators. Gaming communities share detailed performance reports and setup guides. Real user experiences reveal potential problems before you encounter them.
Start with popular, well documented emulators for your console. These typically have better stability and easier setup processes. Established emulators receive regular updates and bug fixes. This foundation ensures a smoother legal retro gaming experience overall.
Step-by-Step: Installing and Configuring Your Emulator
Once you’ve selected your emulator and have your dumped ROM files ready, the actual installation process is simple and straightforward. Download the emulator software from its official website or trusted community source. Extract the files to a folder on your computer where you can easily find them later.
Launch the emulator application. Most emulators open with a clean interface showing a file browser or menu system. You’ll need to point the emulator toward your ROM folder so it can locate your dumped game files. Go to the settings or preferences menu and look for options labeled “ROM path,” “Game directory,” or “Load folder.”
Select the folder containing your dumped ROMs. The emulator will scan this directory and display your available games. This step matters because it keeps your files organized and lets the emulator find games quickly.
Next, configure basic settings for optimal performance. Check the graphics settings first. Most emulators offer display options like resolution scaling and rendering methods. Start with default settings, then adjust if needed based on your computer’s power.
Audio settings come next. Enable sound output and test volume levels with your first game. Controller configuration is essential for actual gameplay. Connect your gamepad or controller and map buttons within the emulator’s control settings. Most emulators provide preset configurations for common controllers.
Test your setup by loading a ROM. Pay attention to performance, graphics quality, and sound output. If performance stutters, return to settings and reduce graphics demands or adjust rendering options. Fine tuning takes a few minutes but ensures smooth gameplay. Save your configuration settings so they apply automatically when you launch games in the future.
Optimizing Performance and Display Settings
Performance optimization makes your retro games run smoothly on modern hardware. Start by checking your computer’s specifications against your emulator’s requirements. Most emulators list minimum and recommended specs on their official pages.
Resolution settings directly impact how games display on your screen. You can run games at their original resolution for an authentic look, or upscale them for larger displays. Higher resolutions demand more processing power, so adjust based on your system’s capabilities.
Frame rate settings control how many frames display per second. Most retro games ran at 60 frames per second. Matching this setting provides the most accurate experience. Your emulator may offer options to match your monitor’s refresh rate, which prevents screen tearing.
Graphics filters enhance visuals without changing the original gameplay. Some filters add smoothing to pixelated graphics. Others preserve the crisp, blocky appearance of classic games. Test different filters to find your preference.
Audio settings require attention too. Adjust volume levels within the emulator itself. Some emulators offer sound quality options that affect performance. Lower quality audio uses fewer system resources if your computer struggles.
Controller mapping lets you use modern gamepads or keyboards. Configure buttons to match the original console layout. Test controls before playing to ensure comfortable gameplay.
Save your configuration settings. Most emulators allow you to create profiles for different games. This saves time when switching between titles.
Monitor your system’s performance while playing. If games stutter or lag, reduce resolution or disable graphics filters. Lower performance settings until games run smoothly. Your goal is finding the balance between visual quality and smooth gameplay on your specific hardware.
Setting Up Emulation on Mobile Devices
Mobile emulation brings retro gaming to your smartphone or tablet. The setup process differs slightly from desktop versions, but the legal foundation remains the same: you must own physical copies of the games you want to play.
Start by choosing an emulator compatible with your mobile device’s operating system. iOS and Android each have different options available. Research which emulator supports the console generation you want to play. Verify your phone has enough storage space for both the emulator application and your dumped ROM files.
Download the emulator from your device’s app store or official source. Avoid unofficial sources that may contain malware or outdated versions. Once installed, open the application and locate the settings menu to configure basic options.
Next, transfer your legally dumped ROM files to your mobile device. Use a computer connection, cloud storage, or direct file transfer methods. Create a dedicated folder on your device for organizing your ROM collection. This keeps your files easy to find within the emulator.
Configure controller settings for your mobile device. Most mobile emulators support on screen touch controls or external Bluetooth controllers. Test different control layouts to find what feels comfortable for gameplay.
Adjust display settings to match your phone’s screen size and resolution. Some emulators offer scaling options that affect how games appear on modern displays. Experiment with different settings to find your preferred visual style.
Battery usage matters on mobile devices. Enable power saving features in your emulator settings if available. Close background applications before playing longer sessions to improve performance and extend battery life.
Test your setup with one game first. This confirms everything works correctly before playing your full collection.
Common Mistakes and Troubleshooting Tips
Many people make critical errors when setting up retro gaming emulators. The biggest mistake is downloading ROMs without owning the original game cartridges or discs. This violates copyright laws and defeats the entire purpose of legal emulation. Always verify you physically own the games before dumping them.
Another common error involves choosing an emulator that doesn’t match your hardware. Not all emulators work well on every computer or device. Research your system’s specifications first, then find an emulator designed for those specs. This prevents frustrating crashes and poor performance.
Insufficient system resources cause many setup failures. Retro games may seem simple, but emulators demand decent processing power and RAM. Check your computer’s minimum requirements before installation. Older machines may struggle with certain emulators.
Controller configuration trips up beginners frequently. Don’t assume your gamepad will work automatically. You must manually map buttons in the emulator settings to match your controller. Test each button before playing to avoid mid game frustration.
If your games run slowly, check these areas first. Reduce graphics filters or lower resolution settings. Disable unnecessary visual enhancements. Adjust frame rate caps to match your monitor’s refresh rate. These tweaks often solve performance problems immediately.
Audio issues happen when emulator settings conflict with your sound card. Start with default audio settings, then adjust only if needed. Keep your system drivers updated for better compatibility.
ROM file corruption occurs during dumping or transfer. Always verify your dumped files are complete and uncorrupted. Use checksums to confirm file integrity. If problems persist, re dump the ROM using your reader device.
Finally, consult community forums when stuck. Experienced users share solutions for specific emulator and hardware combinations. These resources save hours of troubleshooting.
Final Thoughts
Setting up a retro gaming emulator legally is simple once you know the right steps. Owning your original game copies is the foundation of legal emulation. This single rule keeps you on the right side of copyright law.
ROM dumping takes practice, but it’s a skill worth learning. Your own cartridges and discs become digital files you can enjoy for years. This process respects game creators while letting you preserve gaming history.
Choosing the right emulator matters just as much as the ROMs themselves. Match your software to your hardware for the smoothest experience. A mismatch leads to frustration and poor performance.
Performance tuning and mobile setup both deserve attention. Small adjustments to display and audio settings make a big difference. Testing your setup regularly helps you catch problems early.
Mistakes happen to everyone starting out. The good news is most issues have simple fixes. Community forums and guides offer support when you get stuck.
Retro gaming emulation opens a door to classic titles you already own. It lets you relive favorite moments without needing old, fragile hardware. This approach also protects games that might otherwise be lost to time.
Legal emulation is a rewarding hobby when done correctly. It combines nostalgia with modern convenience. Every step, from dumping ROMs to configuring emulators, builds a system you control.
Stay patient as you learn the process. Small setup errors are normal and easy to correct. With time, your emulator setup will run classic games smoothly and legally, giving you countless hours of enjoyable, guilt free retro gaming.
Frequently Asked Questions
Is it really legal to use emulators?
Yes, emulator software itself is legal. The legality depends on what you run inside it. You must own physical copies of the games you play. If you dump ROMs from cartridges or discs you personally own, that’s legal in most countries. Downloading ROMs from the internet without owning the original media is illegal.
Can I use ROMs I download from websites?
No. Downloading ROMs from websites violates copyright law, even if the site claims the files are free. The only legal way to get ROM files is to extract them yourself from games you own.
You need a ROM reader device to dump files from your physical cartridges or discs. This hardware connects to your computer and pulls the game data directly from your media.
What if I can’t find the ROM reader hardware?
ROM readers exist for most retro systems, but some are harder to find than others. You can research compatibility before looking for one. Check community forums where enthusiasts discuss which readers work best for specific consoles.
If dumping proves impossible, you have another option. Some older games are now available legally through official re-releases, compilations, or subscription services. These give you legal access without needing to dump anything.
Do I need a powerful computer to run emulators?
Not necessarily. Many classic systems were simple by today’s standards. Older consoles like the NES or Game Boy run smoothly on basic hardware.
More demanding systems like the Nintendo 64 or PlayStation need stronger specs. Check your computer’s processor and RAM before choosing an emulator. Most modern computers handle standard emulation without problems.

Dillip is the founder and editor of ImageScaleLab.com, a passionate tech enthusiast who loves breaking down complex gadgets and accessories into simple, honest reviews and buying guides. With years of hands-on experience exploring the latest in tech, he is dedicated to helping readers make smarter, more confident purchasing decisions.


