
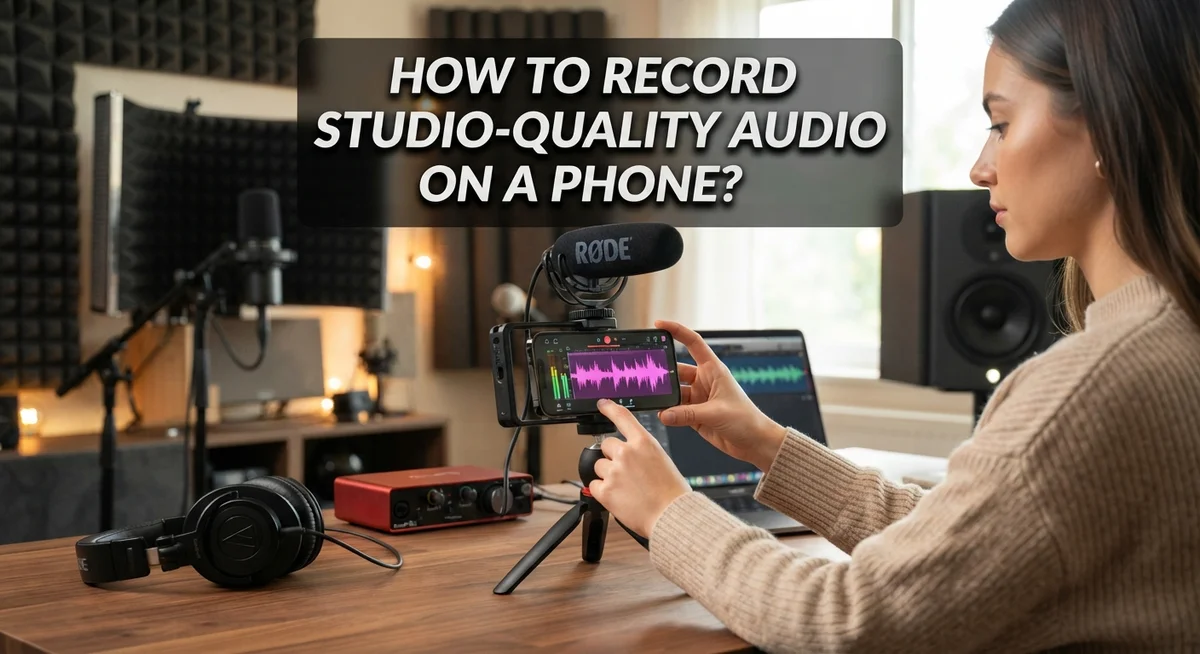
How to Record Studio-Quality Audio on a Phone: A Complete Guide
Your phone can capture amazing sound. You just need to know the right steps.
Many people think studio quality audio needs expensive gear. That is not true. Your smartphone already has a powerful microphone inside it.
The real secret lies in how you record, not just what you record with. Room acoustics, mic placement, and app settings all play a huge role.
Background noise ruins more recordings than bad equipment ever does. A quiet room can make your phone sound like a professional studio.
This guide will walk you through every step. You will learn how to pick the best recording app for your device.
We will cover the ideal distance between your mouth and the microphone. You will also discover why an external mic can transform your audio instantly.
Finally, we will explore simple post-processing tricks. These include EQ, compression, and reverb adjustments.
By the end, you will know exactly how to turn your phone into a reliable recording tool. No expensive studio required. Just your device, some know-how, and a bit of practice.
In a Nutshell
Getting studio-quality audio on your phone comes down to a few smart habits. Here’s a quick summary to keep handy.
-
Pick a quiet space first. Room noise ruins recordings faster than anything else. A quiet closet or carpeted room works great.
-
Add an external microphone if you can. It picks up your voice clearly and skips the phone’s built-in mic limits.
-
Set your recording app to the highest quality available. This gives you more detail to work with later.
-
Keep proper mic distance. Stay close enough to sound clear, but not so close that you get harsh pops or breathing sounds.
-
Position your phone or mic correctly. Aim it toward your mouth and avoid pointing it at noisy walls or windows.
-
Use light post-processing after recording. Simple EQ and compression smooth out your audio and make it sound polished.
-
Practice consistency. Recording the same way each time helps you get predictable, professional-sounding results without guesswork.
Master these basics, and your phone becomes a genuinely reliable recording tool.
Understanding What Makes Audio Sound ‘Studio-Quality’
Studio quality audio has specific characteristics that separate it from casual phone recordings. Understanding these traits helps you know what to aim for when you record.
Clarity is the foundation. Studio recordings let you hear every word, every breath, and every subtle sound without muddiness or distortion. Your voice should sound crisp and present, not buried under noise or echo.
Low background noise defines professional audio. A quiet recording space means you capture only what matters. Room hum, traffic sounds, and air conditioning become invisible in studio quality work. Your phone’s built in microphone picks up everything, so external mics help you focus on the source.
Proper frequency balance makes audio sound polished. Studio quality recordings have warmth in lower frequencies, clarity in midrange, and controlled high frequencies. This balance happens partly during recording and partly through light editing afterward.
Minimal distortion keeps sound clean. When you record too loudly, your phone’s mic clips and creates harsh, broken audio. Studio quality stays well below that threshold.
Consistent levels matter greatly. Professional recordings maintain steady volume throughout. No sudden loud peaks or quiet dips that force listeners to adjust volume constantly.
Appropriate reverb and space add polish without overwhelming. A tiny amount of natural room tone sounds professional. Excessive echo or hollow sound signals amateur recording.
The key insight: studio quality doesn’t mean sterile or fake. It means intentional and controlled. You decide what gets recorded, how loud it is, and what the space sounds like. Your phone can absolutely achieve this. It takes the right microphone, a quiet location, correct settings, and basic editing. These elements work together to create audio that sounds genuinely professional.
Choosing the Right Recording Environment
Your recording space makes or breaks your audio quality. A bad room destroys even the best microphone. A good room saves you hours of editing later.
Find a quiet location first. Bedrooms work better than kitchens. Closets work better than living rooms. Why? Soft materials absorb sound instead of bouncing it around. Clothes, blankets, and carpets stop echo and room noise dead.
Listen to your space before you record. Clap your hands. Does the sound ring out? That’s echo. You want a dead, quiet space. If you hear a lot of echo, add soft materials. Hang blankets on walls. Close windows. Lock doors to keep outside noise out.
Position yourself away from hard surfaces. Don’t record facing a bare wall or window. Don’t sit near metal objects or glass. These reflect sound and create problems. Angle yourself toward the soft side of your room instead.
Check for background noise sources. Air conditioners hum constantly. Fans create white noise. Refrigerators buzz. Traffic sounds leak through windows. Identify these problems before you hit record. Turn off what you can. Close windows if traffic is loud. Give yourself at least 30 seconds of silence to test the space.
Time your recording sessions carefully. Early morning usually means fewer outside sounds. Late night traffic dies down. Avoid times when neighbors make noise. Avoid times when your household is most active.
The goal is simple: create a dead, quiet box around your recording. Your phone’s microphone will pick up whatever lives in that space. Fill it with silence, and your recordings improve dramatically. This single step matters more than expensive gear ever will.
Essential Gear: External Microphones and Accessories
An external microphone transforms phone recording from amateur to professional. Your phone’s built in mic captures everything around you, including unwanted noise. An external mic lets you control what gets recorded and reject background sound.
Microphone types serve different purposes. Lavalier mics clip to your shirt and work great for hands free recording. Shotgun mics focus sound from one direction, perfect for isolating your voice. Condenser mics pick up detail and warmth, ideal for music or voiceovers. Dynamic mics handle loud sources without distortion.
Connection matters more than you think. Most phones use a 3.5mm headphone jack or USB connection. Some newer devices require adapters. Check your phone’s ports before buying anything. Wireless options exist too, though they add complexity you may not need.
Accessories multiply your microphone’s power. Windscreens prevent harsh breath sounds and outdoor wind noise. Pop filters soften plosive sounds like “P” and “B.” Shock mounts isolate the mic from vibrations and handling noise. Boom arms position your mic at the perfect distance without hand fatigue.
Cable quality affects your signal. Cheap cables pick up interference and create crackling sounds. Good cables shield against electromagnetic noise from phones and computers. Keep cables away from power sources when possible.
Mic placement changes everything. Position your external mic 6 to 12 inches from your mouth. Too close creates plosive problems and distortion. Too far loses clarity and picks up more room noise. Test different distances before your actual recording session.
Invest in one quality external mic rather than multiple cheap options. A single reliable mic you understand beats a drawer full of mediocre equipment.
Step-by-Step: Setting Up Your Phone for Recording
Open your phone’s recording app. Most phones come with a built in Voice Recorder or similar application. Android users might find “Smart Voice Recorder” or a basic “Recorder” app. iPhone users typically use the Voice Memos app. Launch whichever app your phone provides.
Navigate to the settings menu within your recording app. Look for quality or format options. Select the highest available bitrate and sample rate. Most apps offer settings between 128 kbps and 320 kbps. Choose 320 kbps if available. Higher numbers mean better sound quality.
Check your phone’s overall audio settings. Go to your phone’s main Settings menu. Find Sound or Audio settings. Disable any automatic volume adjustment or noise cancellation features. These features actually reduce clarity during recording. You want raw, unprocessed sound at this stage.
Position your phone strategically. Place it on a stable surface like a desk or stand. Keep it away from your mouth to avoid plosives (harsh “p” and “b” sounds). If you’re using an external microphone, connect it now to your phone’s headphone jack or USB port. Test the connection by tapping the mic gently. You should hear the sound in your headphones.
Perform a test recording. Record 30 seconds of yourself speaking at normal volume. Play it back immediately. Listen for background hum, buzzing, or unwanted noise. Adjust your mic distance or phone position if needed.
Create a simple checklist before each session. Verify app settings are correct. Confirm your external mic is connected. Test audio levels one more time. These small steps prevent wasting time on unusable recordings.
Mic Placement and Recording Techniques for Clean Sound
Getting the right microphone distance is one of the most important factors for clean audio. Your mouth should sit 6 to 12 inches away from your external microphone. This range prevents harsh plosive sounds (the “p” and “b” popping noises) while keeping your voice clear and present.
Too close and your microphone captures every breath and mouth noise. You’ll hear clicking sounds and explosive air bursts that ruin the recording. Too far away and your voice sounds distant and weak. The microphone struggles to pick up your words clearly.
Position your microphone slightly off to the side of your mouth rather than directly in front. This simple adjustment reduces plosive sounds significantly. Aim for a 45 degree angle if possible. Your microphone should point toward your mouth but not sit dead center in your speech path.
Keep your phone steady during recording. Movement creates rustling sounds and inconsistent audio levels. Use a phone stand or prop it against a stable object. Your hands should stay free anyway to avoid accidental bumps.
Maintain consistent distance throughout your entire recording session. Don’t lean closer when you speak softer or pull back when you get excited. Your voice level should stay even and predictable. This makes editing and post processing much easier later.
Test your setup before you start the real recording. Do a quick 30 second practice take. Listen back and check if your voice sounds natural and clear. Adjust your distance if needed. Small tweaks at this stage save you from re recording entire sessions later.
Post-Processing: Editing Your Recording for a Polished Finish
After you finish recording, your audio file needs refinement. Post processing turns raw recordings into something that sounds professional and polished. This step separates amateur audio from studio quality results.
Start by importing your recording into an audio editing application. Most phones have free options available through your device’s app store. Open your file and listen to it completely. Identify problem areas like background noise, volume inconsistencies, or unwanted sounds.
Noise reduction comes first. Many editing apps include a noise gate or noise removal tool. This feature identifies constant background sounds like air conditioning hum or room noise. The software reduces or eliminates these sounds without affecting your voice. Be careful not to remove too much, as this creates an unnatural sound.
Next, adjust your volume levels using normalization. This makes quiet sections louder and loud sections quieter. Your audio should sit at a consistent level throughout the recording. Aim for peaks around 3 to 6 decibels below maximum to prevent distortion.
Apply equalization to enhance your voice’s natural qualities. Boost midrange frequencies slightly to make your voice sound clearer. Reduce low frequencies if rumbling or bass noise remains. High frequency boosts add presence and clarity.
Compression smooths out volume jumps. It automatically reduces loud peaks and raises quiet sections. This creates a more professional, controlled sound.
Finally, add a tiny bit of reverb if your recording sounds dead or flat. Use reverb sparingly. Too much creates an echo chamber effect that sounds cheap and fake.
Export your file in a high quality format. Listen to the final result on different speakers and devices. Make adjustments as needed. Quality post processing transforms your phone recording into something genuinely professional sounding.
Common Mistakes That Ruin Phone Audio Recordings
Recording on your phone comes with real challenges. Many people make simple mistakes that destroy their audio quality before they even start editing.
Background noise is the biggest culprit. Your phone’s built in microphone picks up everything around you. Traffic, air conditioning, computer fans, and keyboard clicks all get captured. Even a quiet room has ambient sound. This noise becomes impossible to remove later. You must record in the quietest space available.
Microphone distance creates another common problem. Holding your phone too close to your mouth adds plosives and breath sounds. Your p’s and b’s sound like explosions. Holding it too far away makes your voice sound weak and distant. The sweet spot exists between 6 and 12 inches from your mouth.
Poor phone positioning wastes your effort. Many people hold their phone at odd angles. This blocks the microphone or aims it away from your voice. Your phone should sit stable and pointed toward your mouth.
Using only your phone’s built in microphone limits your results significantly. These tiny microphones lack the sensitivity of external options. They pick up handling noise and vibrations easily. An external microphone makes a dramatic difference in your final recording.
Recording in low quality settings is another trap. Your phone offers different quality options. Always select the highest available quality. You can always reduce quality later, but you cannot add detail that was never recorded.
Inconsistent distance and movement ruins continuity. Shifting your phone around during recording creates volume changes and tone shifts. Keep your distance and position steady throughout your entire session.
Troubleshooting Background Noise and Technical Issues
Background noise remains the biggest challenge when recording on your phone. You hear it in your final audio as hum, traffic, wind, or room echo. The good news is that you can fix most of these issues with simple steps.
Start by choosing your recording location carefully. A small, carpeted room works better than a large empty space. Soft materials like blankets, curtains, and furniture absorb sound waves. Hard surfaces like tile or concrete bounce sound around and create echo. Close windows and doors to block outside noise. Turn off fans, air conditioning, and other appliances during your session.
If background noise still appears in your recording, use your editing app’s noise gate feature. This tool removes quiet sounds below a certain level. Set it just above your background noise threshold. Your voice will stay clear while the hum disappears.
Microphone distance causes technical problems too. Position your mic 6 to 12 inches from your mouth. This distance captures your voice clearly without picking up breathing sounds. Too close and you get plosives (harsh P and B sounds). Too far and background noise dominates your recording.
Check your phone’s recording settings before you start. Select the highest quality option available. Most phones offer 44.1 kHz or 48 kHz sample rates. Higher numbers mean better sound quality.
Test your entire setup first. Record 30 seconds of silence to check for unwanted noise. Record yourself speaking at normal volume. Listen back and adjust your mic position or location if needed. This test run prevents wasting time on bad recordings. Small adjustments now save major editing work later.
Final Thoughts
Recording studio quality audio on your phone is easier than you think. You just need the right tools and a bit of practice.
Start with a quiet space. This single step makes the biggest difference in your final sound.
Add an external microphone whenever possible. Your phone’s built in mic simply can’t compete with dedicated audio gear.
Pay attention to distance. Keep your mic six to twelve inches from your mouth for the clearest results.
Don’t skip the post-processing stage. Noise reduction, EQ, and compression turn a decent recording into a professional one.
Test everything before your real session begins. A quick trial run helps you catch problems early.
Small changes create big improvements. Moving to a carpeted room or adjusting your mic angle can transform your audio instantly.
Remember that consistency matters throughout your entire recording. Keep your distance steady and your phone still.
Avoid rushing through the setup process. Taking extra time upfront saves you from frustrating fixes later.
Your phone already has powerful recording capabilities built in. You just need to unlock them with proper technique.
Practice makes this process faster and more natural over time. Each recording session teaches you something new.
Focus on one improvement at a time. Trying to fix everything at once often leads to confusion.
Studio quality audio is achievable with patience and the right approach. You don’t need expensive equipment to get great results.
Keep these tips in mind for every recording session. Your audio quality will improve steadily with consistent practice.
Anyone can create clear, professional sounding recordings with a phone. The tools and knowledge are within your reach today.
Frequently Asked Questions
Can I use my phone’s built in microphone for studio quality recordings?
Your phone’s built in microphone has limits. It picks up too much background noise and struggles with distance. External microphones capture sound much better because they focus on your voice instead of room noise. Most phones work with affordable external options that plug into your charging port or connect wirelessly.
What is the best distance between my microphone and mouth?
Keep your mic 6 to 12 inches from your mouth. This range prevents plosives (harsh P and B sounds) while keeping your voice clear and strong. Too close creates distortion. Too far picks up more room noise. Test different distances during your setup to find what sounds best for your voice.
How do I reduce background noise in my recordings?
Start by choosing a quiet room with soft surfaces like carpets and curtains. These materials absorb sound instead of bouncing it around. If noise still appears, use your editing app’s noise gate feature. This tool removes sound below a certain level, cutting background hum and air conditioning noise without affecting your voice.
Which recording app settings give me the best quality?
Always select the highest quality option available in your app’s settings. Most phones offer 44.1 kHz or 48 kHz sample rates. Higher numbers mean better sound. Save your files as WAV or FLAC formats when possible. These formats preserve more detail than compressed options like MP3.
Should I record in a small or large room?
Smaller rooms work better for phone recording. Large empty spaces create echoes that ruin clarity. A small carpeted bedroom or closet sounds much better than a big living room. Soft materials absorb sound reflections and keep your recording clean and professional sounding.

Dillip is the founder and editor of ImageScaleLab.com, a passionate tech enthusiast who loves breaking down complex gadgets and accessories into simple, honest reviews and buying guides. With years of hands-on experience exploring the latest in tech, he is dedicated to helping readers make smarter, more confident purchasing decisions.


