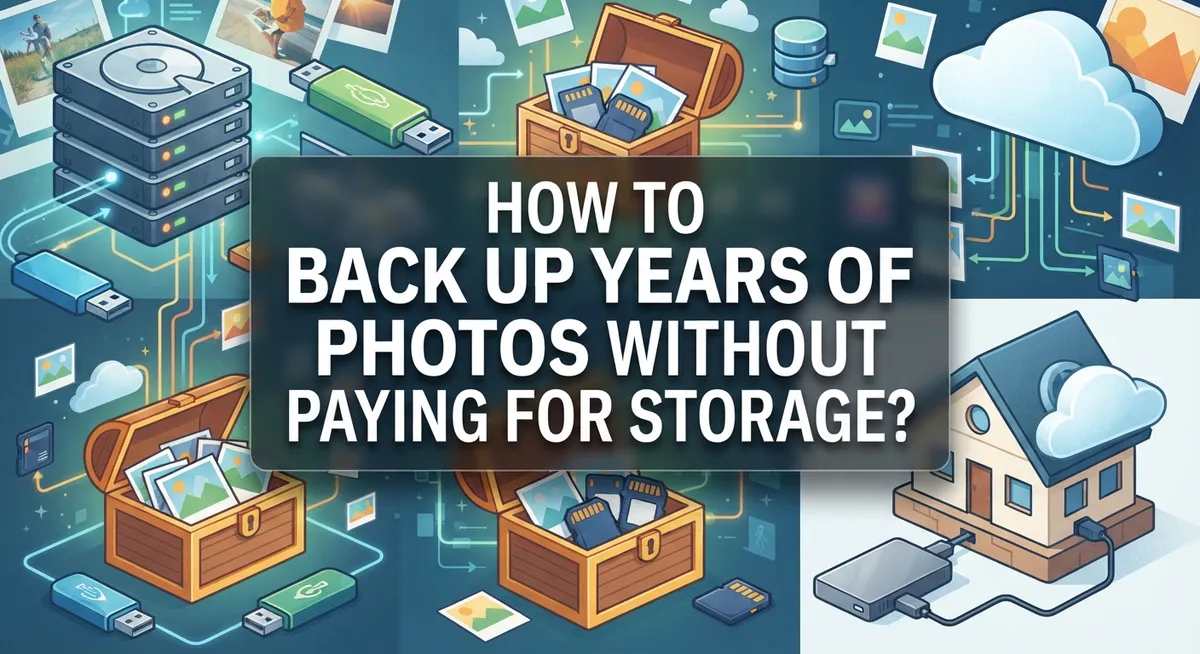
How to Back Up Years of Photos Without Paying for Storage?
Do you have thousands of photos sitting on your phone right now? Maybe you have years of memories piling up, and your storage keeps warning you it’s full.
You are not alone. Most people wait until it’s too late to back up their photos. Then a phone breaks or gets lost, and those memories vanish forever.
The good news? You do not need to pay for expensive cloud storage. You can protect every photo using simple, free methods that work just as well.
This guide will show you how to back up years of photos without spending a dime. We will cover external hard drives, secondary device storage, and smart organization tricks.
You will learn the 3-2-1 backup strategy. This means keeping three copies of your photos across two devices, with one stored safely offsite.
We will also point out common mistakes people make. Things like relying only on computer storage or delaying backups until libraries grow too large.
By the end, you will know exactly how to keep your photos safe forever. No subscriptions. No hidden fees. Just a simple system that actually works.
In a Nutshell
Here is the quick rundown before we jump into details.
-
Use external hard drives. They are the most reliable free method for storing your photos long term. You only pay once for the drive itself.
-
Follow the 3-2-1 rule. Keep 3 copies of your photos on 2 different devices, with 1 copy stored somewhere offsite.
-
Download photos right away. Do not let them sit only on your phone or computer. Move them to a safe spot immediately.
-
Organize by upload date. This makes it much easier to find specific photos later and spot any gaps in your backup.
-
Avoid single storage locations. Never trust just one device or drive. If it fails, you could lose everything.
-
Skip paid cloud storage. Local backups work just as well and cost nothing once you have the right hardware in place.
This simple approach protects your memories without monthly fees eating into your budget.
Why Free Backup Methods Matter for Large Photo Libraries
Large photo libraries need protection. Most people don’t realize that losing years of memories takes just one device failure. Your phone can break. Your computer can crash. Without a backup plan, those photos vanish forever.
Free backup methods matter because they eliminate the cost barrier. You don’t need a subscription to stay safe. Many people think they must pay for cloud storage, but that’s simply not true. Local backups work just as well and protect your memories permanently.
When you have hundreds of gigabytes of photos, paid storage becomes expensive fast. A library of 200GB could cost you $10 to $20 monthly. That adds up to $120 to $240 yearly. Over five years, you’re spending $600 to $1,200 just to keep your photos safe. Free methods eliminate this burden entirely.
The real danger comes from relying on a single location. Your computer holds your photos. Your phone has copies. Then your hard drive fails, and suddenly everything is gone. This happens to thousands of people every year. They delay backing up because they think it’s complicated or expensive.
Free backup strategies use tools you likely already own or can obtain affordably. External hard drives last for years and cost far less than monthly subscriptions. Secondary devices like older computers or tablets provide additional storage. These solutions protect your library without ongoing fees.
Understanding why free backups matter changes your perspective. You stop viewing photo protection as optional. It becomes essential. Your memories deserve the same protection that businesses give their data. The good news? You can achieve professional level protection without spending anything monthly.
Start today with what you have. Download your photos from your devices. Transfer them to an external drive. Keep a second copy somewhere safe. That’s the foundation of lasting protection.
Understanding the 3-2-1 Backup Strategy
The 3-2-1 backup strategy is a simple framework that protects your photos from loss. It means you keep 3 copies of your photos, store them on 2 different devices, and place 1 copy somewhere offsite.
Let’s break down what this means in practice. Your first copy stays on your original device, like your phone or camera. Your second copy goes on an external hard drive you keep at home. Your third copy lives somewhere else entirely, which could be another external drive you store at a friend’s house or a secondary device in a different location.
Why does this matter? If one device fails, you still have two backups. If your home floods or there’s a fire, your offsite copy survives. If your phone gets stolen, your external drives remain safe. This strategy protects against hardware failure, accidents, and disasters.
The “2 different devices” part is crucial. Do not store all 3 copies on the same hard drive. If that drive fails, all your photos disappear. Spread them across multiple devices. You could use an external hard drive, a secondary computer, or even an older laptop you no longer use.
The “1 offsite” requirement sounds complicated, but it is simple. Offsite just means somewhere other than your home. This protects against location based disasters. You do not need to travel far. A family member’s house, a trusted friend’s place, or even a secure storage unit works perfectly.
How to start: Download your photos from your phone to an external hard drive today. That is your first and second copy. Then copy those same files to a second external drive. Store one drive at home and one elsewhere. You have now implemented the 3-2-1 strategy. Your photos are protected without spending money on cloud subscriptions.
Step-by-Step: Moving Photos From Your Device to an External Drive
Moving your photos from your device to an external drive is straightforward. You need just a few minutes and the right approach.
First, connect your external drive to your computer. Make sure your device recognizes it properly. You should see it appear in your file manager or finder window. This confirms the connection works before you start transferring anything.
Next, gather all your photos in one place. Open your device’s photo library or the folder where images are stored. Select all photos by clicking the first one, then holding shift and clicking the last one. This highlights every image at once. If your library is organized by upload date, this step becomes even easier because related photos group together naturally.
Now copy your photos to the external drive. Right click on the selected photos and choose “copy.” Navigate to your external drive in the file manager. Right click again and select “paste.” The transfer begins immediately. Depending on your library size, this might take anywhere from a few minutes to several hours.
While files transfer, avoid unplugging the drive or using your computer for heavy tasks. Interrupting the process can corrupt your backup. Let it complete fully.
Create a folder system on your drive to stay organized. Use simple names like “2024 Photos” or “Phone Backup January.” This prevents confusion later when you need specific images. Label your external drive clearly too. Write the year or content type on the drive itself with a marker.
Once the transfer finishes, verify the photos copied correctly. Open a few folders on your external drive and check that images appear. Keep this drive in a safe, cool location. Avoid leaving it near heat sources or in humid environments. Now you have one backup complete. Remember the 3-2-1 strategy requires multiple copies, so repeat this process with a second external drive or another device soon.
Organizing Years of Photos by Upload Date for Easy Access
When you organize photos by upload date, you create a system that makes finding specific images simple. This approach works because photos naturally group themselves into time periods. You can quickly spot which months or years you’ve already backed up and which ones still need attention.
Start by viewing your photo library in date order. Most devices and computers show this option in their settings. Look for a “sort by date” or “view by upload date” button. This instantly arranges your entire collection from oldest to newest or newest to oldest, depending on your preference.
Create folders that match your upload dates. Make a folder for each year, then add subfolders for each month if you have many photos. Name them clearly like “2023 Photos” or “2024 January Backup.” This naming system helps you stay organized without confusion.
Next, select all photos from a specific time period. Most devices let you click the first photo, hold shift, then click the last photo to select everything between them. You can also select individual months or years depending on how much storage space you have available on your external drive.
Transfer these grouped photos to your external drive using the copy and paste method. Keeping photos organized by upload date makes the backup process faster because you work in manageable chunks rather than handling thousands of files at once.
This system also helps you spot backup gaps. If you notice missing months, you know exactly where to search for those photos. When you need to find pictures from a specific time, organized folders save you hours of hunting through disorganized files.
The key benefit is simplicity. You always know what you’ve backed up and what still needs attention. This organized approach prevents photos from getting lost in the backup process.
Using Secondary Devices as a Backup Layer
A secondary device acts as your safety net when your main storage fails. This approach keeps your photos protected without monthly fees or cloud subscriptions.
Start by identifying what secondary devices you already own. Older laptops, tablets, or desktop computers work perfectly for this purpose. You don’t need new equipment. The goal is simple: store duplicate copies of your photos in multiple physical locations.
Connect your external hard drive to your secondary device. Transfer copies of your organized photo folders to this computer as well. Now you have three locations holding your photos: your primary computer, an external drive, and a secondary device. This follows the 3-2-1 backup strategy effectively.
The real power comes from physical separation. Keep your secondary device in a different location from your main computer. Store it at a family member’s house, your workplace, or another safe spot. If fire, theft, or water damage affects your primary setup, your secondary device remains untouched and safe.
Update your secondary device backup every few months. Add new photos you’ve taken since your last transfer. This keeps your backup current without requiring constant attention. Set a simple reminder on your phone to check this quarterly.
Label your secondary device clearly. Write the backup date on a sticker so you know when it was last updated. This prevents confusion if you need to retrieve photos later.
Don’t worry about using the secondary device for everyday tasks. It can store other files, documents, or programs. Your photo backup simply shares the storage space. The secondary device becomes a reliable insurance policy that costs nothing beyond equipment you likely already own.
This layered approach eliminates your dependence on a single storage solution while keeping your costs at zero.
Tips for Managing 200GB+ Photo Collections Without Cloud Storage
Managing a 200GB+ photo collection without paid cloud storage is completely possible. You just need a solid plan and the right approach.
Start with external hard drives as your foundation. These devices offer massive storage capacity at a one time cost. A single external drive can hold years of photos easily. Buy one large enough to store everything with room to grow.
The 3 2 1 backup strategy keeps your photos safe. You need three copies of your photos total. Store two copies on different devices. Keep one copy in a separate physical location. This method protects you if one drive fails or gets damaged.
Use multiple external drives for different purposes. Your first drive holds your main backup. Your second drive serves as an archive copy. Rotate between them every few months to ensure both stay current.
Label everything clearly with dates. Write the backup date on each drive with a permanent marker. This prevents confusion about which drive has the newest photos. You’ll know exactly when each backup happened.
Store your drives in different locations. Keep one at home and another at a friend’s house or office. This protects against fire, theft, or natural disasters destroying all your backups at once.
Check your backups regularly. Every three to six months, plug in your drives and verify files are still accessible. Drives can fail without warning, so testing them prevents nasty surprises.
Avoid keeping photos only on your computer. Your computer’s hard drive can crash unexpectedly. External drives are more reliable for long term storage.
Delete photos from your phone or camera after backing them up. This frees up space on your devices and forces you to maintain your backup routine. You’ll develop a consistent habit of protecting your memories.
Common Backup Mistakes and How to Avoid Them
Many people make simple mistakes that put their photos at risk. Understanding these errors helps you protect your memories effectively.
Storing photos only on your computer is the biggest mistake. Your computer’s hard drive can fail without warning. One hardware problem means you lose everything. This happens more often than people realize. A single backup location gives you zero protection.
Relying on just one backup method creates dangerous vulnerability. If that single external drive fails, your photos disappear. You need multiple copies in different places. This is why the 3-2-1 strategy works so well. Three copies across two different devices with one stored away from home gives you real security.
Delaying large photo backups causes major problems. People wait until they have 200GB or more accumulated. Then the task feels overwhelming and gets postponed further. Start backing up photos immediately after you download them. Small regular backups take minutes. Large delayed backups take hours and feel like a burden.
Keeping secondary devices in the same location defeats their purpose. If your house experiences a fire or theft, both your primary and backup storage disappear together. Store your secondary device backup somewhere else entirely. A friend’s house, your office, or a safe deposit box works well.
Not labeling your backups creates confusion later. You forget when you last updated each drive. Write the backup date directly on each external drive with a permanent marker. Include the date range of photos on that drive. This simple step saves hours of frustration.
Ignoring backup maintenance leads to forgotten copies. Check your backups every few months. Make sure your external drives still work properly. Update your secondary device backup regularly. These small actions prevent the heartbreak of discovering your backup failed when you actually needed it.
Final Thoughts
Backing up years of photos does not need to cost you anything. You only need a smart plan and some consistency.
External hard drives give you the most storage for the least effort. They work as your primary defense against data loss.
A secondary device adds another layer of safety. It catches your photos if your main backup ever fails.
The 3 2 1 strategy ties everything together. Three copies, two devices, one offsite location keeps your memories protected from almost any disaster.
Free cloud storage can help too, but only as a bonus layer. Do not depend on it alone since space runs out fast.
Your biggest enemy is delay. Waiting too long to back up new photos lets your library grow into an unmanageable mess.
Make backups a habit, not an afterthought. Set a simple reminder every few months to update your drives and secondary devices.
Organizing photos by date makes this process smoother. It helps you spot what is missing and avoid duplicate transfers.
Remember that mistakes like single location storage or skipped maintenance cause most photo losses. Avoiding these simple errors protects years of memories.
Think of your backup system like a small insurance policy. It costs little time but saves you from huge regret later.
You do not need expensive subscriptions to keep your photos safe. A few hard drives, a spare device, and a clear routine work just as well.
Consistency is the real secret here. Even a basic system, followed regularly, beats an expensive one that you ignore.
Your photo collection tells your story. Protecting it with smart, free methods means that story never gets lost.
Start today, even with one small step. Future you will thank you for keeping those memories safe without spending a cent.
Frequently Asked Questions
Can I really back up years of photos for free?
Yes, you absolutely can. External hard drives cost money upfront, but that’s a one-time purchase. After that, you own the device and pay nothing more. This beats monthly cloud subscription fees that add up over time.
What’s the fastest way to back up a huge photo library?
Select all your photos by upload date and transfer them together to an external drive. This bulk approach saves hours compared to backing up photos one at a time. Connect your drive directly to your computer for the fastest transfer speed.
Should I use both external drives and cloud storage?
External drives work great as your main backup method. Free cloud storage can be a bonus layer if you want it, but it’s not required. Many people successfully keep all their photos safe using only external drives and secondary devices.
How often should I check my backups?
Check your external drives every few months. Make sure they still power on and your files remain accessible. This simple step catches problems early before you actually need to restore your photos.
What happens if my external drive fails?
That’s exactly why you need multiple copies. If one drive fails, your photos still exist on your other backup devices. This is why the 3-2-1 strategy works so well. One broken drive doesn’t mean losing your entire photo collection.

Dillip is the founder and editor of ImageScaleLab.com, a passionate tech enthusiast who loves breaking down complex gadgets and accessories into simple, honest reviews and buying guides. With years of hands-on experience exploring the latest in tech, he is dedicated to helping readers make smarter, more confident purchasing decisions.