
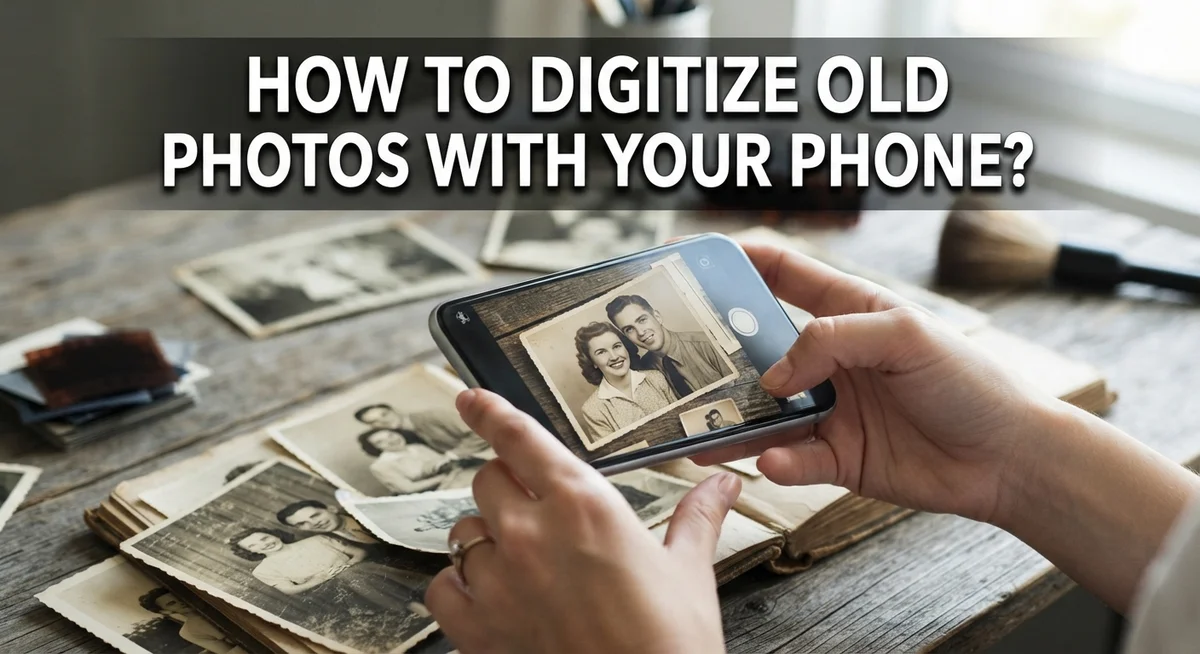
How to Digitize Old Photos With Your Phone?
Do you have a box of old photos hiding in your closet? Those printed memories fade a little more each year. But your phone can bring them back to life.
Digitizing old photos means turning paper prints into digital files. You get a backup that lasts forever. No more worrying about water damage, fading, or lost albums.
The good news? You do not need fancy equipment. Your smartphone camera and a few simple apps do the job well.
This guide shows you how to scan photos the right way. We will cover the best lighting setup for clear results. You will learn which scanning apps work best for this task.
We also share simple steps to line up each photo and capture it. Plus, we point out common mistakes that ruin scan quality.
By the end, you will know how to build a digital photo collection. You can store these files safely in cloud storage or on your device.
Ready to save your family memories before it is too late? Let us get started.
In a Nutshell
Turning old photos into digital files is easier than you think. Your phone can do the job well. Here is a quick summary to keep handy.
-
Good light matters most. Use a bright room or natural light. This step alone improves your scan quality a lot.
-
Grab a scanning app. Apps like Google PhotoScan or Photomyne work better than your regular camera. They fix angles and glare for you.
-
Switch to photo mode. Line up the print inside the viewfinder. Keep your phone steady before you tap scan.
-
Let the app do the work. It automatically corrects perspective and crops the image. This saves you editing time later.
-
Save to the cloud. Upload your scans to Google Photos or another storage app. This keeps your memories safe from damage or loss.
-
Avoid rushing the process. Skipping proper lighting or using a basic camera app often leads to blurry or dull results.
Follow these simple points, and you will build a lasting digital photo collection in no time.
What You Need Before You Start
Before you start scanning, gather a few basic items. You will need your smartphone, which already has a camera built in. Most modern phones work well for this task without any special upgrades.
Next, download a scanning app to your phone. A basic camera app will not give you the best results. Dedicated scanning apps handle perspective correction and automatically crop images to the right size. This saves you time and produces cleaner digital files.
You also need a good light source. Natural light works best. Position yourself near a window during daytime hours. If natural light is not available, use a lamp or overhead lights. Avoid harsh shadows falling across the photo. The better your lighting, the sharper your scans will be.
Find a clean, flat surface to work on. A table or desk works perfectly. You want a stable place where you can lay out photos without them moving around. This keeps your shots steady and prevents blurry images.
Have your photos organized and ready before you begin. Sort them by year, person, or event. This makes the scanning process faster and helps you stay focused. You will know exactly how many photos you need to scan and in what order.
Consider your storage plan. Decide where you will save your digital files. Cloud storage services keep your photos safe and accessible from any device. You could also save files to your computer as a backup.
Finally, clear some space on your phone. Scanning creates new files that take up storage. Check that you have enough room before starting a large batch. Delete unnecessary apps or files if needed.
With these items ready, you are prepared to begin digitizing your photo collection. The process becomes smooth and efficient when you have everything in place first.
Choosing the Right Scanning App for Your Phone
A scanning app is the key tool that transforms your phone into a photo digitizer. Your regular camera app won’t work as well because scanning apps include special features built for this job.
What scanning apps do differently matters a lot. These apps automatically correct the angle of your photo. They also remove glare and shadows that appear in regular phone photos. The app crops the image to the right size. It adjusts brightness and contrast for you. Your basic camera app does none of these things.
How to pick the right app depends on what you need. Look for apps that work on your phone’s operating system. Check if the app offers free or paid options. Read the reviews from other users who have digitized photos. See if the app uploads directly to cloud storage. Some apps let you scan multiple photos quickly. Others focus on quality over speed.
Key features to look for include perspective correction, which fixes tilted photos automatically. Batch scanning lets you process many photos at once. Some apps detect photo edges and crop them perfectly. Look for apps that enhance old or faded photos. The best apps also organize your scans into folders.
Storage options matter too. Many scanning apps connect to cloud storage services. This means your photos stay safe even if your phone breaks. Check if the app saves files in common formats like JPG or PNG. These formats work on any device or computer.
Start with a free version if available. Test the app on a few photos first. See if you like how it works. Then decide if you want to upgrade to a paid version. The right app makes digitizing your old photos fast and easy.
Setting Up the Perfect Lighting and Workspace
Your workspace setup directly impacts scan quality. Start by finding a room with strong, consistent light. Natural light from a window works best, but it changes throughout the day. If you rely on natural light, pick a time when sunlight streams directly into your space without creating harsh shadows.
Artificial lighting is equally effective. Position your light source at an angle above the photo, not straight down. This prevents glare and reflections that ruin scans. Avoid overhead lights alone, as they often create uneven brightness across the photo surface.
Next, prepare your work surface. Use a clean, flat table or desk. Remove clutter and dust particles that might show up in your scans. A plain background helps the scanning app focus on your photo, not surrounding objects.
Keep your phone steady while scanning. Rest it on a small stand or prop it against something stable. Movement during capture causes blurry results. Many people hold their phone at a slight angle, which distorts the image. The scanning app works best when your phone is parallel to the photo.
Organize your photos before starting. Sort them by year, family member, or event. This makes the process faster and helps you stay focused. Grab a small batch, maybe 10 to 20 photos, rather than attempting your entire collection at once.
Check your phone’s camera lens before beginning. Wipe it clean with a soft cloth. Dust or fingerprints reduce image sharpness significantly. A quick cleaning takes seconds but improves results dramatically.
Finally, ensure your phone has enough battery life and storage space. Scanning multiple photos drains battery quickly. Charge your device fully beforehand. Clear unnecessary files to make room for your digital scans. These simple preparation steps create the foundation for successful photo digitization.
Step-by-Step: Scanning Your Photos
The actual scanning process is straightforward once you have your app ready and your lighting set up. Start by opening your scanning app and selecting the photo mode option. This mode is specifically designed for digitizing physical prints rather than documents.
Position your phone’s camera directly above the photo you want to scan. Keep your phone parallel to the photo surface. This angle helps the app capture the image clearly without distortion. Look through your viewfinder and make sure the entire photo fits inside the frame with some space around the edges.
Tap the scan button when everything looks aligned. Most scanning apps will capture multiple frames automatically. This multi frame approach helps the app choose the sharpest version and correct any perspective issues. You may see the app take several shots in quick succession. This is normal and actually improves your final result.
Stay still while the app processes the scan. Movement can reduce image quality. The app will show you a preview of the digitized photo once it finishes. Review this preview carefully before saving. Check that colors look accurate and the entire photo is visible in the frame.
If the preview doesn’t look right, you can retake the scan immediately. Poor lighting often causes dull or dark results. Adjust your light source and try again. The app will guide you through any needed corrections.
Once you are satisfied with the scan, save the file to your phone’s storage. Most apps automatically save to your device’s photo gallery. You can then upload the file to cloud storage for backup. This backup step protects your digitized photos from accidental loss.
The entire scanning process takes just a few seconds per photo. Repeat these steps for each photo in your collection. You will build your digital library quickly with this simple, repeatable process.
Organizing and Backing Up Your Digital Photos
Once you’ve scanned your photos, organizing and backing them up becomes your next priority. This step ensures your digital collection stays safe and easy to find.
Start by creating a folder structure on your phone. Use simple categories like “Family,” “Holidays,” “Childhood,” or organize by year. Clear naming helps you locate photos quickly later. Avoid vague folder names that make searching difficult.
Most scanning apps automatically save files to your phone’s storage. You can then move these files into your organized folders. Take time to delete any blurry or duplicate scans during this process. This keeps your collection clean and manageable.
Cloud storage is essential for protecting your photos. Backing up to the cloud means your photos survive if your phone gets lost or damaged. Many options exist for cloud storage, and most offer free space to start. Upload your organized folders regularly to ensure nothing gets lost.
Consider setting up automatic backups. Many cloud services allow you to enable automatic syncing. Once activated, new scans upload without you doing anything. This hands-off approach prevents accidental loss of your work.
Create a backup schedule that works for you. Some people back up weekly, others monthly. Choose a frequency that matches how many photos you scan. Mark these dates on your calendar as reminders.
Keep your phone’s storage from getting too full. Large photo collections take up significant space. Regularly transfer older scans to cloud storage and remove them from your phone if needed. This frees up room for new scans.
Label your backups with dates. If you back up multiple times, knowing when each backup occurred helps you find specific versions. Simple dates like “January 2024” work perfectly.
Finally, test your backup system. Download a photo from your cloud storage to confirm everything works. Knowing your backup system functions properly gives you peace of mind about your precious memories.
Common Mistakes to Avoid When Digitizing Photos
When you digitize old photos with your phone, mistakes happen easily. Knowing what to avoid saves you time and frustration.
The most common error is using poor lighting. Shadows and dim rooms create blurry, unclear scans. Your phone’s camera struggles to capture details in low light. Always scan in a bright space. Natural sunlight works best, but a desk lamp also works well. Position your light source to avoid glare on the photo’s surface.
Another mistake is holding your phone at an angle. Your camera must point straight down at the photo. Tilted angles distort the image and make the scan look warped. Use a phone stand or prop to keep your device level. This ensures your scan captures the photo accurately.
Don’t skip cleaning the photo first. Dust and fingerprints show up clearly in digital scans. Gently wipe the photo with a soft, dry cloth before scanning. This removes particles that reduce image quality.
Many people tap the scan button too quickly. You need to wait for the app to focus properly. Rushing causes blurry results. Give the app a moment to adjust focus before you take the scan.
Avoid scanning multiple photos at once in the frame. Your app works best with one photo at a time. Scanning several photos together reduces clarity and makes organization harder later.
Don’t forget to check the preview before saving. Look at the scanned image on your phone screen. If it looks unclear or incomplete, rescan immediately. It’s easier to redo a scan now than fix a poor quality file later.
Finally, never delete the original photo right away. Keep your physical copies until you confirm all digital scans look good. This protects you if something goes wrong during the digitization process.
Troubleshooting Blurry or Distorted Scans
When your scans come out blurry or distorted, several fixable issues are usually to blame. Blurriness happens most often because your phone moved during the capture. Even a slight shake ruins the image quality. Use both hands to hold your device steady. Rest your phone against a small object or prop it up so your hands stay free from shaking.
Distortion often comes from shooting at an angle instead of straight above the photo. Your phone camera must point directly down at the image. If you angle it, the edges stretch and the center compresses. Position yourself so your phone is parallel to the photo’s surface.
Inadequate lighting creates the biggest quality problems. Shadows across the photo make details disappear. Blurry areas appear where light is too dim. Move to a bright window or use an overhead lamp. Avoid direct sunlight that creates harsh shadows. Diffuse, even lighting across the entire photo works best.
Dirty camera lenses also cause blurriness. Fingerprints and dust accumulate on your phone’s lens. Wipe it gently with a soft, dry cloth before each scan. This simple step improves clarity dramatically.
If the photo itself is wrinkled or warped, the app struggles to process it correctly. Smooth out creases gently before scanning. Place the photo flat on a hard surface like a table or clipboard.
Check your app’s settings too. Some scanning applications have focus modes or quality settings you can adjust. Higher quality settings produce sharper results, though they take slightly longer to process.
If problems persist after trying these fixes, retake the scan using slower, deliberate movements. Take multiple scans of the same photo and compare results. The app usually captures at least one usable version when you try several times. Delete the failed attempts once you have a good scan saved.
Final Thoughts
Digitizing old photos with your phone is a simple way to protect your memories. You don’t need fancy equipment or technical skills to get started.
Good lighting and a steady hand make all the difference. These two factors solve most quality issues you might face.
Scanning apps do the heavy lifting for you. They fix perspective and lighting problems automatically, so you get clean results every time.
Take your time with each photo. Rushing through the process leads to blurry or distorted scans that you’ll need to redo later.
Your digital photo collection is only as good as your backup system. Cloud storage keeps your memories safe even if something happens to your phone.
Start small and build momentum. Pick a few photos to scan today rather than trying to digitize an entire box at once.
Once you get comfortable with the process, scanning becomes fast and almost automatic. Many people finish a whole album in under an hour.
Remember that these old photos are irreplaceable. Taking a few extra minutes to clean each print and check your scan quality is worth the effort.
Your family history deserves to last for generations. Digitizing photos means memories won’t fade, tear, or get lost over time.
This project connects the past to the future. Your grandchildren will thank you for preserving these images in a format they can easily access and share.
Start with one photo today. Small steps lead to a complete digital archive that keeps your family’s story alive for years to come.
Frequently Asked Questions
Can I use my regular phone camera instead of a scanning app?
Your phone’s basic camera works, but scanning apps are much better. Apps handle perspective correction automatically, which means they fix angles and distortion for you. They also enhance contrast and brightness to match the original photo more closely. Without an app, you’ll spend extra time editing each image manually.
What’s the best lighting setup for scanning photos?
Natural light from a window works great if you position yourself to avoid shadows and glare. Artificial light also works well. The key is even, soft lighting across the entire photo. Avoid harsh direct light that creates shiny spots on the print. Test your setup by taking a quick scan before you start the full batch.
Why do some of my scans look washed out or too dark?
Lighting problems cause most quality issues. If your scans look washed out, you likely have too much bright light reflecting off the photo’s surface. Too little light makes images look dark and muddy. Adjust your angle slightly or move your light source to find the sweet spot. Clean your phone’s camera lens too, since dust blocks light and reduces clarity.
How do I fix a scan that came out at an odd angle?
Most scanning apps include built in rotation and straightening tools. Open your saved image in the app and look for edit options. You can usually rotate, crop, or adjust perspective right there. If your app doesn’t have these features, many cloud storage services include basic editing tools you can use afterward.
Should I delete the original photo after I scan it?
Keep the original print for now. Store it safely in a cool, dry place. Once you’ve tested your backup system and confirmed your digital files are secure, you can decide what to do with the physical copies. Having both versions gives you extra protection during this transition period.

Dillip is the founder and editor of ImageScaleLab.com, a passionate tech enthusiast who loves breaking down complex gadgets and accessories into simple, honest reviews and buying guides. With years of hands-on experience exploring the latest in tech, he is dedicated to helping readers make smarter, more confident purchasing decisions.


