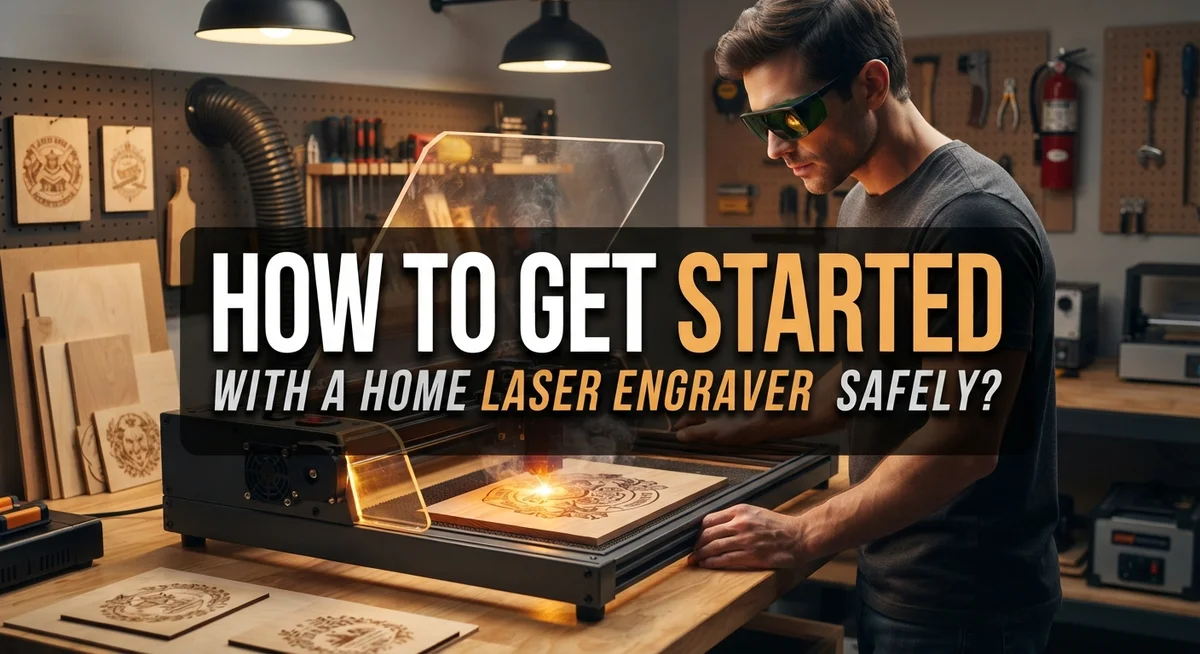
How to Get Started With a Home Laser Engraver Safely?
So you just got a new home laser engraver. That’s exciting news!
But before you power it on, let’s talk safety first. A laser engraver is a fantastic tool for creating custom designs. It can also cause serious harm if you don’t use it correctly.
Eye damage, toxic fumes, and fire risks are real concerns. The good news? You can avoid all of these with the right knowledge.
This guide walks you through everything you need to know. We’ll cover how to set up your space properly. You’ll also learn which materials are safe to engrave and which ones you should avoid completely.
We’ll explain why proper ventilation matters so much. You’ll discover how to protect your eyes from beam exposure. And you’ll understand why securing your materials firmly makes a real difference.
By the end, you’ll feel confident starting your engraving journey. You won’t need to guess or take unnecessary risks.
Let’s get your workspace ready and your safety habits locked in from day one.
In a Nutshell
Here’s a quick recap to keep you safe and confident with your laser engraver:
-
Read the manual first. Every machine works differently. Know your buttons and settings before you start.
-
Protect your eyes always. Never look directly at the beam. Wear proper eye protection every single session.
-
Set up good ventilation. Fumes build up fast. A well ventilated space keeps the air clean and safe.
-
Secure your materials tightly. Loose items shift during engraving. This causes uneven cuts and safety risks.
-
Check your power settings. Wrong settings lead to blurry results or burnt edges. Match settings to your material type.
-
Avoid risky materials. Skip PVC and coated metals. They release toxic fumes when heated.
-
Keep the cover closed. This protects your eyes and contains any stray sparks.
Getting started safely isn’t complicated. Follow these basics every time you engrave. Your eyes, lungs, and workspace will thank you.
Understanding How Laser Engravers Work
A laser engraver works by focusing a concentrated beam of light onto your material. This beam heats the surface so quickly that it vaporizes or burns away the top layer. What remains is your engraved design.
The laser tube generates this powerful beam. It travels through mirrors and a lens that focus the light to a precise point. This focused spot is what actually does the engraving work. The smaller and sharper this spot, the finer your details will be.
Power and speed work together to control how deep the engraver cuts. Higher power means the laser burns hotter and faster. Slower speed gives the beam more time to penetrate your material. You’ll need to balance both settings based on what you’re engraving.
The focusing system is absolutely critical. If your laser isn’t focused correctly, the beam spreads out too much. This creates blurry, faint results instead of crisp lines. Most machines have a focus adjustment that moves the lens up and down.
Your engraver has a computer inside that controls everything. You send it a design file, and it tells the laser where to move and when to fire. The laser head moves across your material following your exact design path.
Understanding these basics helps you use your machine safely. When you know how the laser actually works, you make better decisions about power settings and material choices. You’ll also recognize when something isn’t working right. This knowledge is your first line of defense against mistakes that could damage your equipment or harm you.
Essential Safety Gear and Workspace Setup
Your workspace setup makes the difference between a safe, productive engraving area and a dangerous one. Start by finding a location with excellent air circulation. Laser engravers release fumes and smoke, so an open room or area near a window works best. If your space feels enclosed, consider adding a ventilation system to pull fumes away from you.
Next, invest in proper eye protection. Laser beams cause permanent blindness instantly. You need glasses or goggles specifically rated for the wavelength your engraver uses. Check your machine’s manual to find the correct protection level. Keep these glasses within arm’s reach every single time you operate the machine.
Your work surface should be sturdy and level. An unstable table causes materials to shift during engraving, which ruins your project and creates safety hazards. Make sure your engraver sits securely without wobbling.
Organize your workspace to keep fire risks low. Remove paper, cloth, and other flammable items from the immediate area. Keep a fire extinguisher nearby, ideally one rated for electrical fires. Position your machine away from water sources and moisture.
Add proper lighting so you can see your material clearly before starting. Good visibility helps you position items correctly and spot potential problems.
Store materials in a dry location away from your engraving zone. Separate your safety gear, tools, and supplies so everything has its place.
Finally, create a simple checklist you follow before every use. This habit keeps safety automatic rather than something you have to remember. Your setup should feel comfortable and organized, so you focus on creating great work rather than worrying about hazards.
Step-by-Step Guide to Your First Safe Engraving Session
Your first engraving session sets the tone for safe, successful work ahead. Start by gathering everything you need in one place before powering on your machine.
Begin with your design file. Make sure it’s in the correct format your machine accepts. Test your design on scrap material first. This step saves you from ruining expensive items. Adjust your design size and position on screen until it matches your vision.
Next, inspect your material carefully. Check that it’s clean and free from dust or debris. Confirm the material type is safe to engrave. Unknown materials can release harmful fumes. Measure your material and mark where you want the engraving to appear.
Place your material on the work surface and secure it firmly. Use clamps or weights to prevent any shifting. Loose materials cause blurry, uneven results. Double check that nothing blocks the laser path.
Now adjust your laser focus. Most machines have a focus tool or ruler for this. Proper focus is essential for clean, sharp engraving. A misaligned focus creates faint or burnt marks.
Put on your eye protection before proceeding. Make sure your ventilation system is running. Check that the machine cover closes completely.
Load your design into the software and review the settings one final time. Confirm power and speed are appropriate for your material type. Start with lower power settings if you’re unsure.
Position yourself where you can monitor the engraving without looking directly at the beam. Keep your hands clear of the work area. Once you’re ready, start the engraving process. Stay nearby during the entire session to watch for any issues.
Choosing Safe Materials and Ones to Avoid
Material selection is your first line of defense when using a home laser engraver. Choosing safe materials protects both you and your equipment. The wrong choice can release toxic fumes, damage your machine, or create fire hazards.
Never engrave PVC plastic. When heated, PVC releases hydrogen chloride gas, which is extremely harmful to breathe. This toxic fume can damage your lungs and the laser tube itself. PVC coatings on other materials pose the same risk, so check your material source carefully.
Avoid any metals with coatings or unknown composition. Coated metals release harmful fumes when the laser heats them. If you’re unsure what coating a metal has, don’t use it. The risk simply isn’t worth it.
Safe materials include wood, leather, acrylic, and anodized aluminum. These materials respond well to laser engraving and don’t release dangerous gases. Natural wood works beautifully for most projects. Acrylic produces clean, professional results. Leather creates elegant finishes. Always verify your material is uncoated before starting.
Test unfamiliar materials in a well ventilated space first. Start with low power settings to see how the material reacts. This approach lets you observe any unusual smoke or smell before committing to a full project.
Read your material’s safety data sheet if available. This document tells you exactly what happens when heat is applied. Many suppliers provide this information online.
Keep a material reference list near your engraver. Write down what you’ve successfully used and any observations. This simple habit builds your knowledge over time and prevents dangerous mistakes. Your future self will appreciate having this quick reference guide ready.
Dialing In Power, Speed, and Focus Settings
Getting your power, speed, and focus settings right makes the difference between crisp, clean engravings and disappointing results. Start by reading your machine’s manual completely. The manual tells you the exact power range your laser can handle safely.
Power settings control how deep the laser cuts or marks your material. Begin with lower power levels, around 20 to 30 percent. Test on scrap material first. If the mark is too light, increase power gradually in small increments. Never jump straight to maximum power. This approach protects both your material and prevents accidental fires.
Speed determines how fast the laser head moves across your material. Slower speeds allow more time for the laser to interact with the surface, creating darker or deeper marks. Faster speeds produce lighter results. Match your speed to your power level. High power with high speed may damage materials. Low power with low speed wastes time without adding quality.
Focus is absolutely critical for sharp output. An unfocused beam spreads out and loses power. Your machine likely has a focus adjustment dial or software control. Place a piece of scrap material on your work surface. Move the laser head down slowly until the beam creates the smallest, brightest spot on the material. This is your correct focus point. Some machines have autofocus features that handle this automatically.
Always start conservative with your settings. Write down what works for each material type. Keep a simple log of successful power, speed, and focus combinations. This saves time and prevents mistakes on future projects. Test settings in a well ventilated area before working on your final piece.
Common Beginner Mistakes and How to Avoid Them
Beginners make several predictable mistakes when starting with home laser engravers. Understanding these errors helps you avoid costly damage and safety hazards.
Incorrect focus tops the list of common problems. Many new users skip the focus adjustment step or don’t understand how it works. An unfocused beam spreads out and loses power, resulting in faint or blurry marks. Your manual explains the exact focus procedure for your machine. Take time to master this before your first project.
Choosing the wrong materials causes serious issues. Engraving PVC plastic releases toxic hydrogen chloride gas into your workspace. Coated metals and unknown material compositions also produce harmful fumes. Always check what you’re engraving before you start. When in doubt, test the material in a well ventilated space first.
Inadequate ventilation is another frequent mistake. Laser engraving creates smoke and fumes regardless of your material choice. Poor ventilation traps these particles in your workspace and damages your equipment. Set up proper airflow before your first session.
Loose or unsecured materials create safety problems and poor results. Materials that shift during engraving produce uneven marks and can damage your laser head. Secure everything firmly to your work surface before starting.
Skipping eye protection puts your vision at serious risk. Never stare directly at the laser beam. Permanent eye damage happens instantly. Wear appropriate eye protection every single time you operate your machine.
Ignoring the manual causes most beginner problems. Your equipment manual contains critical safety information and setup steps specific to your model. Read it completely before your first use. This simple step prevents nearly every mistake listed here.
Troubleshooting Ventilation and Fume Issues
Ventilation problems often show up as unpleasant smells, visible smoke, or hazy air around your engraver. These signs tell you your fume extraction system isn’t working properly. Start by checking your exhaust path. Follow the air from your machine to where it exits your workspace. Look for blockages, disconnected tubes, or crushed hoses that stop airflow.
Your ventilation fan might be too weak for your space size. A small fan works fine for tiny hobby projects. Larger workspaces need stronger extraction power. Test your airflow by holding a piece of paper near the exhaust outlet. The paper should move noticeably. If it doesn’t, your fan isn’t pulling enough air.
Sealed windows and doors trap fumes inside. Open a window or door to create fresh air intake while your engraver runs. This helps your extraction system pull air through efficiently. Without incoming fresh air, your fan struggles against air pressure.
Filters get clogged over time and reduce airflow. Check your filter regularly and replace it when dirty. A blocked filter makes your ventilation system useless. Keep spare filters on hand so you never skip this step.
Duct tape leaks in your ventilation hose. Even small gaps let fumes escape into your room instead of outside. Inspect all connections monthly for damage or separation.
If problems continue after checking these items, your fan might be failing. Test it by listening for unusual sounds or reduced operation. Some fans have switches or settings you might have accidentally changed. Review your equipment manual for troubleshooting steps specific to your model.
Ongoing Maintenance for Safe Long-Term Use
Your laser engraver needs regular care to stay safe and work well. Think of maintenance like caring for a car—small actions prevent big problems later.
Check your lens and mirror weekly. Dust and debris collect on these optical parts. Use a soft, lint-free cloth to gently wipe them. Never touch the lens with your bare fingers because oils damage the coating. A clean optical path means sharper engravings and safer operation.
Inspect your ventilation system regularly. Look at your extraction hose for cracks, holes, or kinks. Bend the hose gently to check for blockages. Replace filters according to your equipment manual. A clogged filter reduces airflow and lets fumes build up in your workspace, which poses health risks.
Test your cooling system monthly. Most home engravers use water cooling or air cooling. Check that water flows properly or that air vents are clear. Overheating damages internal components and creates fire hazards.
Keep your work area clean. Remove scrap materials and dust after each session. Debris near the laser head increases fire risk. Store materials properly in a dry location away from the machine.
Review your eye protection condition. Replace damaged or scratched laser safety glasses. Worn protection no longer shields your eyes properly.
Document your maintenance schedule. Write down what you checked and when. This simple log helps you spot patterns and prevents missed tasks. Consistent maintenance keeps your engraver running safely for years. It also protects your eyesight and lungs from harm.
Final Thoughts
Getting started with a home laser engraver feels exciting. You get to create custom designs on wood, metal, and other materials. But safety must come first, every single time.
Ventilation, protective gear, and equipment knowledge form the foundation of safe engraving. Skip any of these, and you risk your health or damage your equipment.
Your eyes deserve special attention. Never stare directly at the laser beam. This simple rule prevents permanent eye damage that no amount of caution can reverse later.
Take time to learn your machine before you start. Read the manual. Understand your settings. Know what materials work safely with your specific engraver.
Focus matters more than beginners realize. A properly focused beam gives you clean, sharp results. A poorly focused beam wastes time and materials.
Material choice can make or break your safety. Avoid PVC and coated metals you cannot identify. These release toxic fumes that harm your lungs and irritate your eyes.
Secure your materials firmly before each session. Loose pieces shift during engraving and ruin your project. They also create unpredictable safety risks.
Building good habits early pays off later. Check your ventilation before every session. Wear your eye protection without exception. Close the cover during operation.
Safe engraving is not complicated once you understand the basics. It just requires attention and consistency.
Your home laser engraver can bring years of creative satisfaction. Treat it with respect and follow proper safety steps. This approach protects you, your family, and your equipment.
Start slow, learn steadily, and safety becomes second nature over time.
Frequently Asked Questions
What safety gear do I absolutely need before using a laser engraver?
You need laser safety glasses that block the specific wavelength your machine uses. Your engraver’s manual tells you which type. Wear closed-toe shoes and avoid loose clothing that could catch fire. A dust mask helps when handling materials that create fine particles.
Can I engrave any metal in my home setup?
No. Avoid engraving unknown metals or coated metals. These release harmful fumes that ventilation systems struggle to handle. Stick to materials your manual approves. When in doubt, ask the material supplier about its composition and coating.
How do I know if my laser is focused correctly?
A properly focused laser creates sharp, clean lines. Blurry or faint results mean your focus needs adjustment. Your manual explains how to focus your specific model. Test on scrap material first. Take time to learn this skill because focus directly affects both quality and safety.
What should I do if I smell smoke or see haze during engraving?
Stop immediately. Turn off your machine. Check your ventilation system for blockages, cracks, or loose connections. Verify your extraction fan is running. Look at your filter for clogs. If problems persist after checking these items, your fan may need repair. Never continue engraving with poor ventilation.
Why does material securing matter so much?
Loose materials can shift during engraving. Movement causes uneven burns and ruined projects. Worse, shifting materials might touch the laser head or catch fire. Clamp or tape your material down securely before you start. This simple step prevents accidents and improves results.

Dillip is the founder and editor of ImageScaleLab.com, a passionate tech enthusiast who loves breaking down complex gadgets and accessories into simple, honest reviews and buying guides. With years of hands-on experience exploring the latest in tech, he is dedicated to helping readers make smarter, more confident purchasing decisions.