How to Shoot Better Video With Just a Smartphone?
Your smartphone can shoot amazing video. It sits in your pocket right now, ready to go. But most people never unlock its true potential.
Great videos do not happen by accident. They come from smart settings and simple habits. A few small changes can make your footage look professional.
Many creators make the same mistakes. They rely on the phone’s built in microphone. They skip important camera settings. These errors hurt the final result.
The good news is simple. You do not need expensive gear to start. You just need the right knowledge.
This guide will show you how to optimize your camera settings for crisp, clear footage. You will learn about resolution and frame rate choices that matter.
We will also cover audio solutions that actually work. Sound quality can make or break your video. You will discover why external microphones matter so much.
By the end, you will understand the core steps to better smartphone video. No confusing jargon. Just practical tips you can use today. Let’s turn your phone into a real filmmaking tool.
In a Nutshell
Here is a quick recap of what makes smartphone video look great. Keep these points in mind before you hit record.
-
Set your resolution first. Switch to 4K at 60 fps in your camera settings. This gives you smooth motion and sharp detail every time.
-
Turn on lens correction. This small setting fixes distortion. Your footage looks clean and professional right away.
-
Never trust the built in mic. Phone microphones pick up wind and background noise. They rarely sound clear on their own.
-
Add an external microphone. Good audio matters more than most people think. Viewers forgive shaky video but not bad sound.
-
Adjust settings before you shoot. Do not fix problems later. A few taps now save hours of editing later.
-
Combine the right settings with the right gear. Your phone already has strong native camera capabilities. Configuring them properly unlocks their full potential.
Follow these steps and your smartphone videos will look sharper and sound clearer. Small changes truly make a big difference.
Optimizing Your Camera Settings for Maximum Quality
Your smartphone’s camera has more power than you realize. Most people never dig into the settings menu, which means they leave quality on the table. Let’s change that.
Start by opening your camera app and finding the resolution settings. You want to shoot in 4K rather than 1080p. Higher resolution gives you more detail and flexibility when you edit later. If your phone supports it, set the frame rate to 60 fps instead of 30 fps. This creates smoother motion, especially for action scenes or pans.
Next, look for lens correction in your settings. This feature removes the wide angle distortion that phone cameras create. Your footage will look less “fisheye” and more professional. Enable it before you start recording.
White balance matters more than you think. Some phones let you lock the white balance so colors stay consistent throughout your shoot. Avoid letting the camera automatically adjust colors mid recording, as this creates visible shifts in your footage.
Check if your phone has an exposure lock feature. This keeps brightness steady even when you move between bright and dark areas. Tap and hold on your subject to lock exposure, then start recording.
Turn off any digital stabilization if you plan to use a tripod or gimbal. Digital stabilization crops your image and reduces sharpness. Optical stabilization is fine to leave on, as it works differently.
Finally, disable any beauty filters or effects in your camera settings. These add processing that degrades video quality. You want clean, unprocessed footage that you can enhance during editing.
Take five minutes right now to adjust these settings. Your next video will look noticeably better.
Mastering Resolution and Frame Rate: 4K at 60fps Explained
Understanding resolution and frame rate helps you capture video that looks professional and smooth. Your smartphone can record at different quality levels, and choosing the right one matters for your final output.
4K resolution means your video has four times the pixels of standard HD. This extra detail gives you more flexibility when editing. You can crop footage without losing sharpness. You can also zoom in during post production without quality loss.
Frame rate refers to how many images your phone captures per second. Most phones offer 24fps, 30fps, or 60fps options. Higher frame rates create smoother motion, especially for fast moving subjects like sports or action sequences.
4K at 60fps combines both benefits. You get high resolution plus smooth, fluid motion. This setting works best when you have plenty of light and fast storage on your device. Recording at this quality uses more battery power and storage space, so plan accordingly.
Lower frame rates like 24fps or 30fps use less storage. They work fine for interviews, vlogs, and slower paced content. These settings also perform better in low light situations.
Choose your settings based on your content type. Action scenes benefit from 60fps. Talking head videos work well at 30fps. Cinematic projects often use 24fps for a film like appearance.
Before you record, test your chosen settings. Shoot a short clip and review it on a larger screen. This preview helps you confirm the quality meets your needs. Your phone stores this information, so you can use the same settings for future projects without reconfiguring everything.
Understanding Lens Correction and Image Sharpness
Lens correction and image sharpness work together to make your smartphone videos look crisp and professional. Your phone’s camera lens naturally bends light, which creates distortion around the edges of your frame. This distortion makes straight lines appear curved, especially in wide angle shots.
Lens correction software fixes this problem automatically. Most smartphones have this feature built into their camera app. You simply toggle it on in your settings before you record. The correction happens in real time, so you see the result immediately in your viewfinder.
Finding lens correction depends on your phone model. Android users typically find it under “Camera Settings” or “Advanced Options.” iPhone users should check the camera app’s settings or look in the main phone settings under “Camera.” Some phones call it “Distortion Correction” or “Lens Distortion.”
Sharpness depends on several factors working together. Your camera’s focus must be accurate. Tap your subject on the screen to lock focus on what matters most. Avoid touching the lens itself, as fingerprints reduce clarity significantly.
Lighting affects sharpness more than people realize. Bright, even light helps your phone capture fine details. Poor lighting forces your camera to use higher sensitivity settings, which introduces graininess and reduces sharpness.
Stabilization also impacts how sharp your video appears. Even tiny movements blur footage. Use a tripod or gimbal when possible. If you must hold your phone, keep your elbows close to your body and move slowly.
Enable lens correction, ensure good lighting, maintain sharp focus, and stabilize your phone. These simple steps transform your video quality dramatically. Your smartphone is already capable of producing sharp, distortion free footage.
Why Built-In Microphones Fall Short and What to Do About It
Your smartphone’s built-in microphone has a serious limitation. It picks up every sound around you, including wind noise, traffic, and room echo. The microphone sits in one spot on your phone, so it can’t focus on your voice or subject. This creates audio that sounds distant and unprofessional.
Built-in microphones also struggle with dynamic range. They either capture quiet sounds too softly or loud sounds with distortion. You end up with inconsistent audio levels throughout your video. Background noise drowns out what you actually want people to hear.
The solution is straightforward: use an external microphone. External microphones connect to your phone through your headphone jack, USB port, or wireless connection. They sit closer to your sound source, so they capture clearer audio with less background noise.
Directional microphones work best for video. They focus on sound coming from one direction while rejecting noise from the sides and back. This means your subject’s voice comes through clearly without picking up every ambient sound.
Wireless microphones give you freedom to move around while recording. Your phone stays in one place on a tripod, and the microphone moves with you. This setup works well for interviews, vlogs, and presentations.
Start with a basic external microphone before investing in expensive equipment. Test it in your recording space first. Check the audio levels and listen for any buzzing or humming. Adjust microphone placement until you get clean, clear sound.
Good audio matters more than most people think. Viewers forgive shaky video, but they won’t tolerate bad sound. Fixing poor audio in editing is nearly impossible, so capture it right the first time.
Lighting and Composition Techniques for Smartphone Video
Lighting shapes everything in smartphone video. Good light makes your footage look professional and clear. Natural light from windows works well, but it changes throughout the day. Position yourself so light hits your face or subject from the front or side. Avoid backlight, which makes your subject appear dark and hard to see.
If you shoot indoors, use multiple light sources. A main light source combined with a secondary light reduces harsh shadows. You can use desk lamps, floor lamps, or any consistent light. The goal is even, soft lighting across your subject. Hard shadows make video look amateurish.
Composition matters just as much as lighting. The rule of thirds helps you frame shots better. Imagine your screen divided into nine equal boxes. Place important elements along these lines or at intersections. This creates more interesting, balanced shots than centering everything.
Keep your phone steady during recording. Movement should feel intentional, not shaky. Hold your phone with both hands or use a simple stand. Slow pans and smooth movements look professional. Avoid sudden jerky motions.
Check your focus before hitting record. Tap the screen on your subject to lock focus. Your phone will keep that area sharp throughout the shot. If your subject moves, tap again to refocus.
Distance matters too. Get close enough to see facial expressions but far enough to include context. Zoom in with your feet, not the digital zoom. Digital zoom reduces quality and makes footage look grainy.
Test your setup before important shoots. Record a few seconds, watch it back, and adjust lighting or position as needed. These small checks prevent wasted time and poor footage later.
Stabilization Methods to Eliminate Shaky Footage
Shaky footage ruins even the best smartphone videos. You need steady shots to look professional. Stabilization methods fix this problem quickly.
Your phone has a built in stabilization feature. Check your camera settings and enable optical or electronic stabilization. This technology reduces blur from small hand movements. Turn it on before you start recording.
A tripod is your best investment for stability. You can place your phone on any tripod designed for mobile devices. Tripods keep your footage perfectly still during interviews, presentations, or static shots. They work for landscape or portrait orientation.
Monopods offer another option when you need to move around. They give you stability while staying mobile. You hold the monopod while recording, so your hands stay steady. This works great for walking shots or following action.
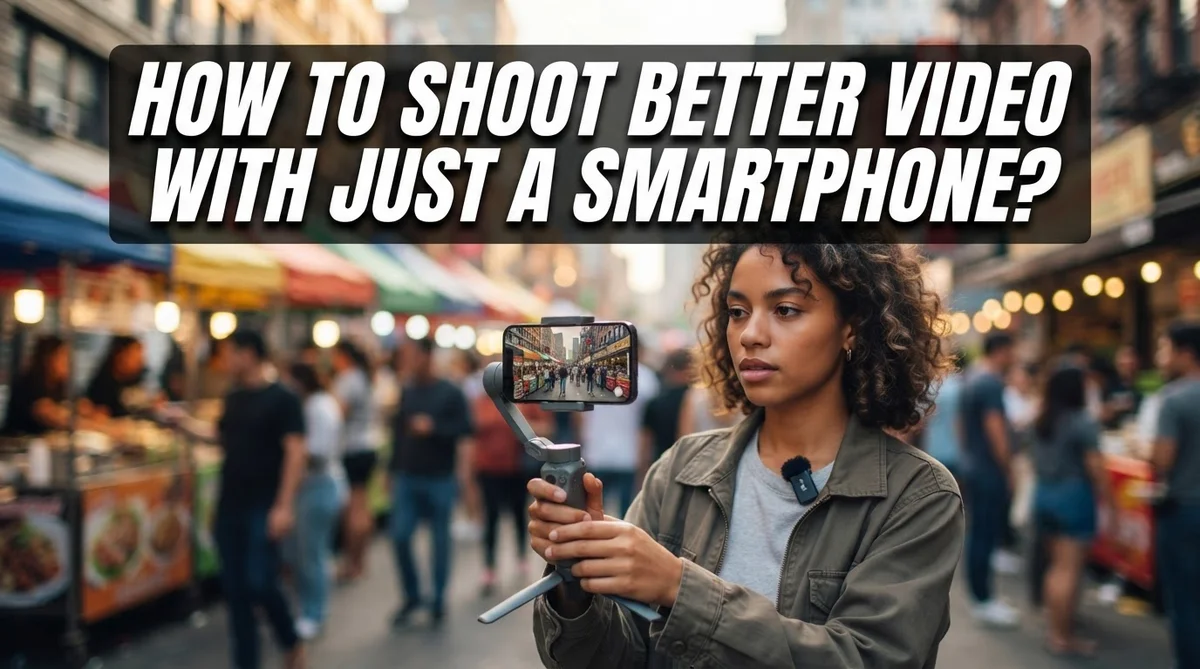
Gimbals are motorized stabilizers that smooth out movement. They automatically correct shakes and tilts. Your phone stays level even when you walk or pan the camera. Gimbals work best for professional looking movement shots.
Hand holding techniques matter too. Keep both hands on your phone. Tuck your elbows against your body. This creates a natural support system. Breathe steadily and avoid sudden movements.
Combine multiple methods for best results. Use a tripod with electronic stabilization enabled. This double approach eliminates almost all shaking. Test your setup before important recordings.
Start simple with just stabilization enabled. Add a tripod as your next step. Upgrade to gimbals only if you need advanced movement. Most smartphone videos look great with basic tripod support and built in stabilization working together.
Common Mistakes That Ruin Smartphone Videos
Many smartphone videos fail because creators ignore basic setup mistakes. These errors happen before you even press record, and they’re easy to fix once you know what to avoid.
Ignoring your camera settings is the first major mistake. Most phones come with default settings that don’t maximize video quality. You should check your resolution and frame rate before filming. Higher settings like 4K at 60 fps give you better quality, but they require more storage space. Adjust these based on what you actually need.
Skipping lens correction causes blurry, distorted footage. Your phone’s camera has built in correction features that you must enable in settings. This simple step makes a huge difference in sharpness and clarity.
Relying only on your phone’s internal microphone destroys audio quality. Built in microphones pick up everything around you, not just your subject. They struggle with wind noise, background sounds, and volume changes. You’ll end up with unusable audio that ruins your entire video.
Forgetting to test your setup leads to wasted recording time. Always do a quick test run in your actual recording space. Check your audio levels, focus, and lighting before you start filming important content.
Recording without checking focus results in blurry subjects. Tap your phone screen to lock focus on what matters. Your phone won’t automatically keep your subject sharp if they move.
Underestimating preparation costs you the most. Spend five minutes checking your phone’s settings, testing your microphone, and confirming your focus. These small steps prevent major problems that waste hours in editing or require reshooting entirely.
Troubleshooting Everyday Recording Problems
When you hit record on your smartphone, problems often appear that you didn’t expect. Audio cuts out suddenly. Your video looks grainy and dark. The footage appears blurry even though you tapped to focus. These issues happen because you skipped important steps before recording.
Poor lighting creates the biggest visual problems. Your phone’s sensor struggles in dim spaces. Shadows swallow details and colors look wrong. Move closer to a window or use multiple light sources around your subject. Avoid pointing your camera directly at bright windows, which causes everything else to go black.
Focus problems happen when you don’t check before recording. Your phone focuses on the wrong object. Tap your main subject on the screen to lock focus there. Wait a moment to confirm the lock worked before you start filming.
Shaky footage ruins otherwise good videos. Your hands move more than you realize. Enable your phone’s built in stabilization feature in the camera settings. This smooths out small movements automatically.
Audio problems destroy your final product. Your phone’s built in microphone picks up wind noise, room echo, and unwanted background sounds. It cannot capture clear dialogue from a distance. External audio equipment fixes this issue completely.
Color and exposure settings need adjustment. Your phone might overexpose bright areas or underexpose dark areas. Check your phone’s manual exposure controls. Tap and drag to adjust brightness before recording.
Test everything in your actual recording location. Check lighting, audio, focus, and stabilization together. This preparation prevents 90 percent of common problems. You’ll catch issues before they waste your time and ruin your footage.
Final Thoughts
Great smartphone video comes down to a few simple habits. You already know your phone can shoot amazing footage. You just need to use it the right way.
Camera settings make the biggest difference. Enable 4K recording at 60 fps before you start any project. This gives you sharp, smooth footage that looks professional.
Lens correction matters too. Turn this feature on to avoid warped or blurry edges in your shots. It takes seconds to enable and improves your final video instantly.
Audio deserves equal attention as your visuals. Your phone’s built in microphone cannot capture clear sound on its own. An external microphone solves this problem completely.
Good audio makes viewers trust your content more. Poor audio makes even great visuals feel amateur. Never skip this step for important projects.
Think of smartphone videography as a skill you build over time. Each video teaches you something new about light, sound, and movement. Small improvements add up quickly.
Practice with different settings before your next big shoot. Test your camera app’s manual controls. Learn what works best in your specific environment.
Preparation always beats improvisation. Check your settings, your audio setup, and your stabilization method before you press record. This habit saves you from frustrating retakes.
Your smartphone already has powerful capabilities built in. You just need to unlock them through proper configuration. The right settings turn an ordinary phone into a serious video tool.
Start with one improvement at a time. Master your camera settings first. Then add external audio equipment when you feel ready.
Consistent practice builds real skill. Soon you will create videos that look far better than anything from a basic point and shoot setup.
Frequently Asked Questions
Can I shoot professional quality video with just my smartphone?
Yes, you can. Modern smartphones have powerful cameras that rival dedicated equipment. The key is optimizing your settings before you record. Enable 4K recording at 60 fps in your camera app. Apply lens correction to keep footage crisp and clear. These simple steps make a huge difference in your final video quality.
What’s the best way to improve audio on my smartphone?
Your phone’s built in microphone alone won’t cut it. External audio equipment is necessary for usable sound. An external microphone captures clearer dialogue and reduces background noise. Position it close to your sound source. This single upgrade transforms your video from amateur to professional sounding.
Should I record in 4K or stick with 1080p?
Record in 4K at 60 fps when possible. Higher resolution gives you more flexibility during editing. You can crop shots without losing quality. You can also slow down footage smoothly at 60 fps. If your phone storage is limited, 1080p works fine, but 4K is worth the extra space.
How do I know if my smartphone is ready to shoot?
Always test your setup before the actual shoot. Check that your focus locks on your subject. Verify your audio equipment works properly. Test your stabilization method. Review a short sample recording. These quick checks prevent wasted time and frustration.
Why does my video look blurry or distorted?
Skipping lens correction causes this problem. Your smartphone’s ultra wide lens can distort edges. Enable lens correction in your camera settings. Also check that your lens is clean. Fingerprints and dust create fuzzy footage. A quick wipe solves this instantly.

Dillip is the founder and editor of ImageScaleLab.com, a passionate tech enthusiast who loves breaking down complex gadgets and accessories into simple, honest reviews and buying guides. With years of hands-on experience exploring the latest in tech, he is dedicated to helping readers make smarter, more confident purchasing decisions.